Summary
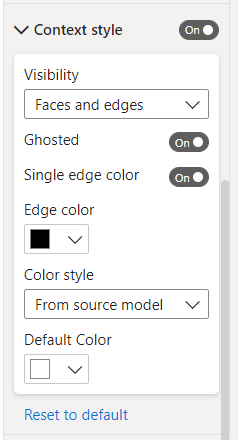
Tracer V3’s 3D Visual for PowerBI allows users to set up Context Fields and control context appearance independently from primary geometry. Context can be toggled on and off as well as inverted. Context visual settings allow Ghosted, Edges, or Faces appearances.
Steps
1. Transform Data
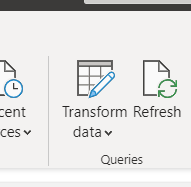
Go to Transform Data and add a column which will be used to designate which model elements are context.
2. Add a Conditional Column
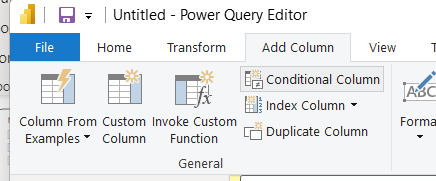
In the Transform Data window, navigate to the “Add Column” tab and select the “Conditional Column” button from the ribbon menu.
3. Set column parameters
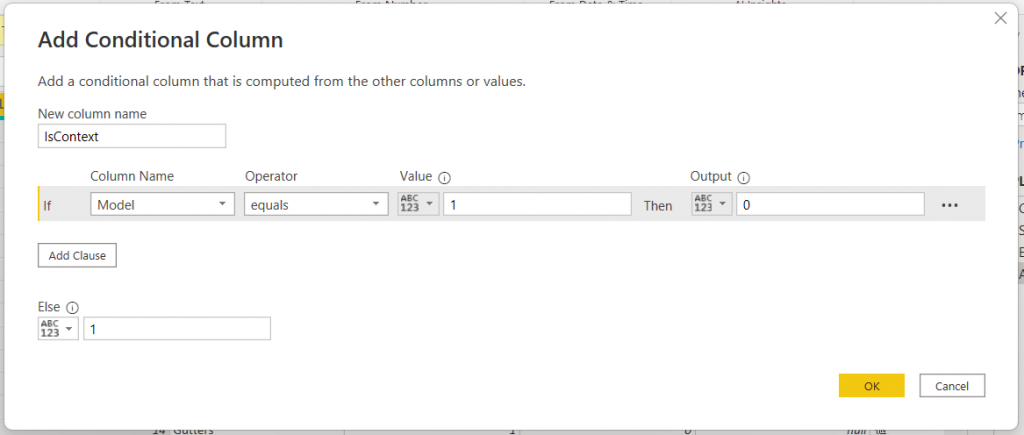
Within the Conditional Column window, add a name for the new column. For the example we will use “IsContext”. Set up a rule below that will assign a 0 to objects that will not be context (0=False), Assign a 1 to objects that will be context (1 = True).
4. View new column
The new column should display 0s and 1s
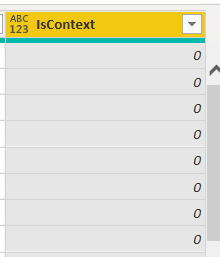
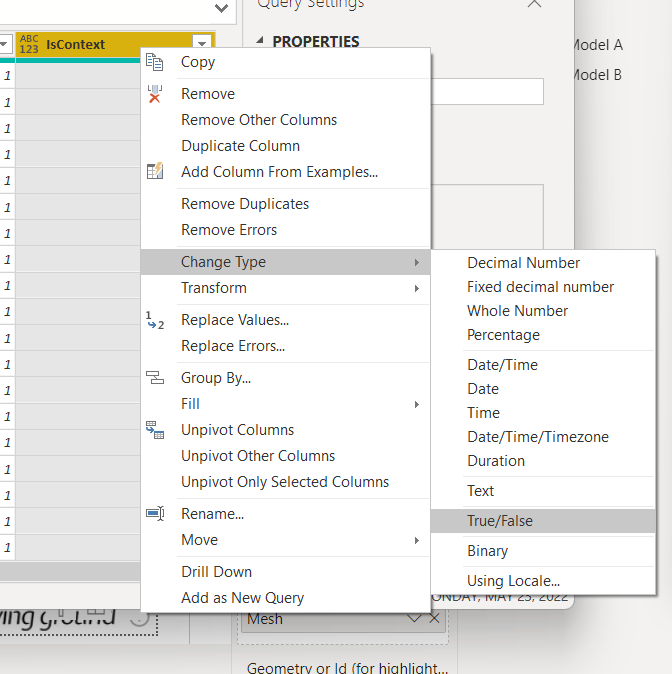
5. Change type to True/False
With the new column selected, right click and select “Change Type,” then select “True/False”. The Column will change 0s to False and 1s to True.
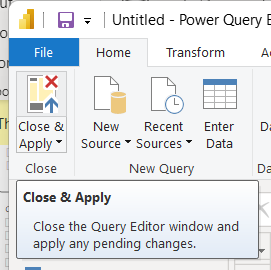
6. Close and Apply
Return to the Home tab in the ribbon menu and select “Close and Apply”.
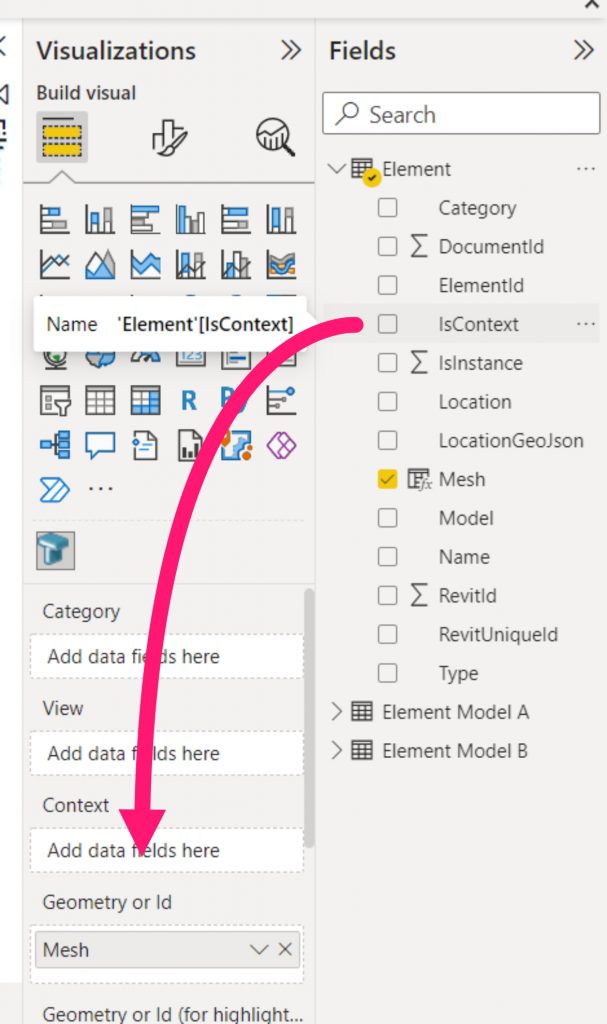
7. Drag and Drop the new Field into the Context area
With the 3D Visual selected, drag the field you just created (“IsContext” in the example) and drop it into the Context area.
8. View results
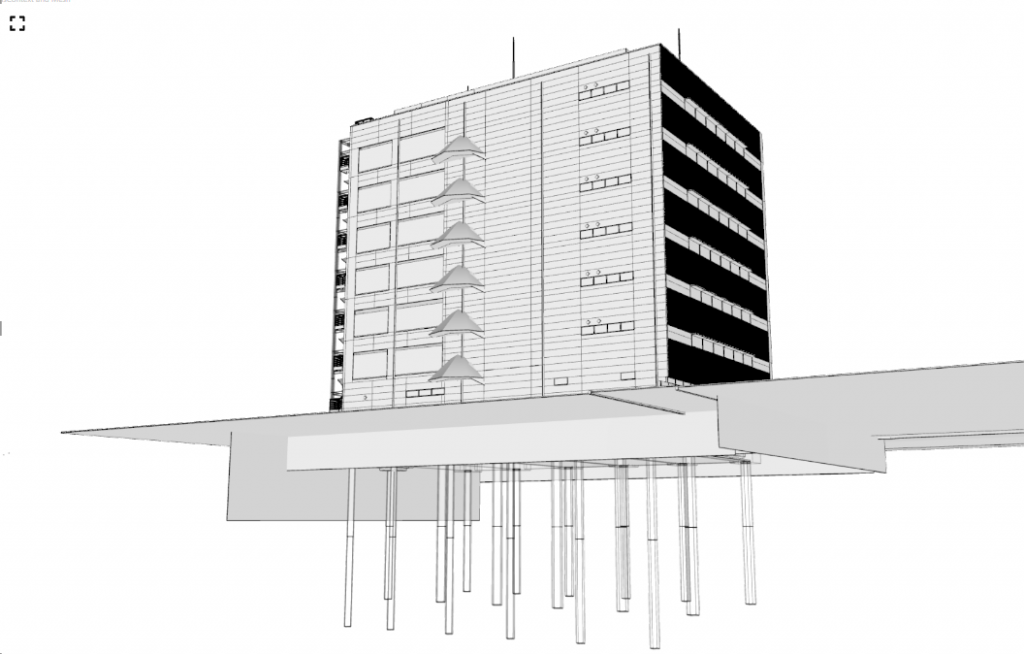
The Tracer 3D visual will regenerate with the model results. In this example the structural model is set to context.
Additional Options
1. Invert Context
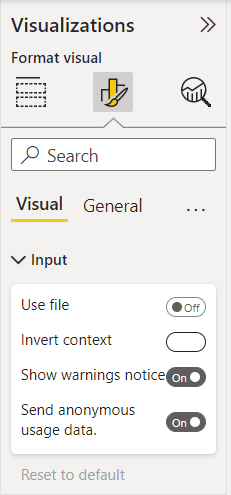
The Context column can be inverted by toggling “Invert Context” on. This toggle can be found under Visualizations > Format Visual > Visual > Input.
2. Context Style settings
The context display style can be independently controlled in the Context Style menu, found under Visualizations > Format Visual > Context Style. It can be toggled on/off; the visibility can be set to Faces, Edges, or both; The appearance can be ghosted; and colors can be set.
