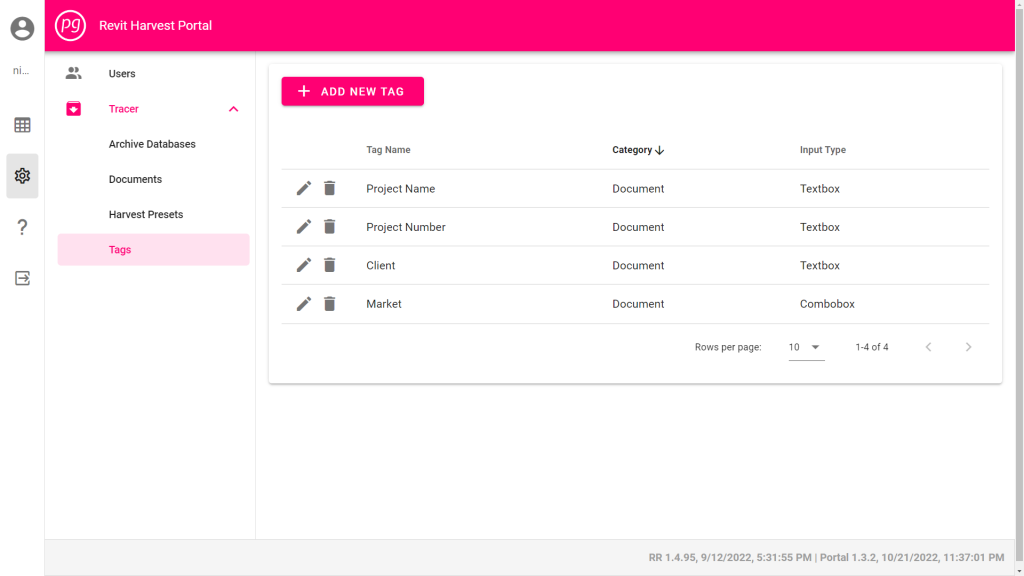
Tag Management Panel
Tags are used to add identifying information to documents during the harvest process to allow data to be filtered by the tag name.
The tag management panel can be accessed by:
- Select “Admin”, or the Gear Icon, from the collapsible main menu.
- Select “Tags” from the Tracer Submenu
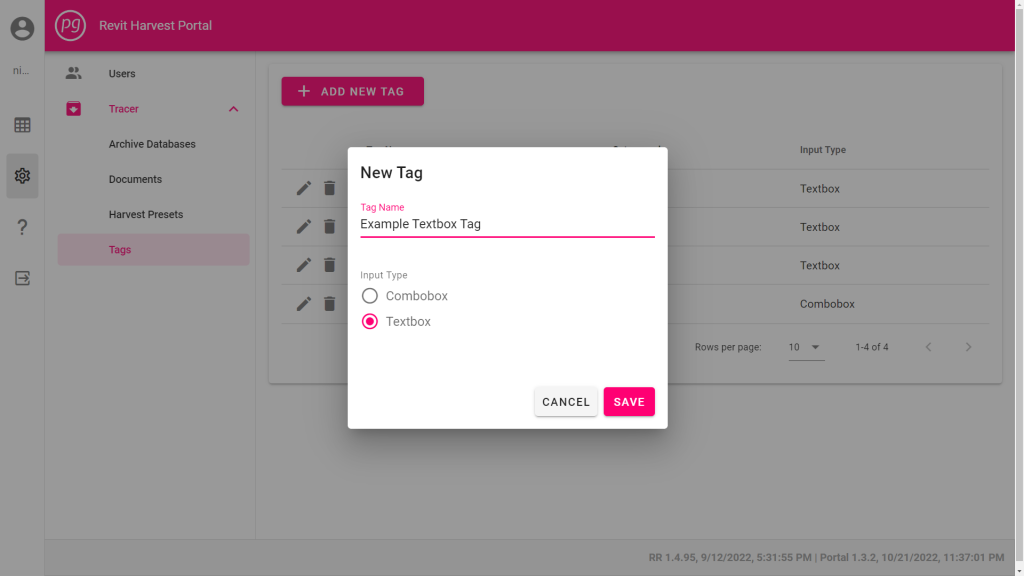
Create a Textbox Tag
A textbox tag allows users to enter one line of information for each tag type.
To create a textbox tag:
- Select the “Add New Tag” button from the Tag Management Panel. A “New Tag” window will appear.
- Enter a unique Tag Name, and select the “Textbox” input type.
- Select the “Save” button to create the tag and return to the Tag Management Panel.
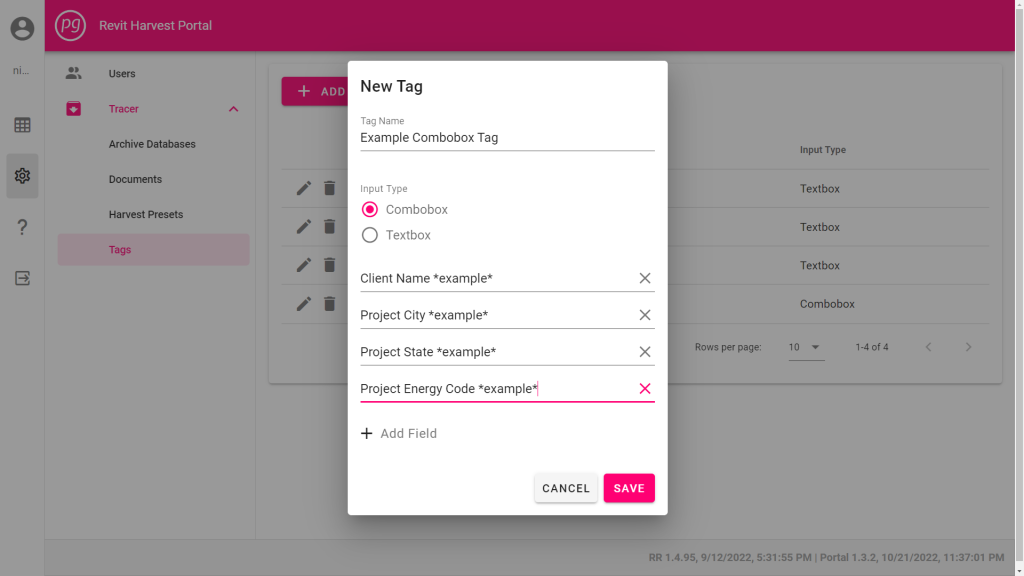
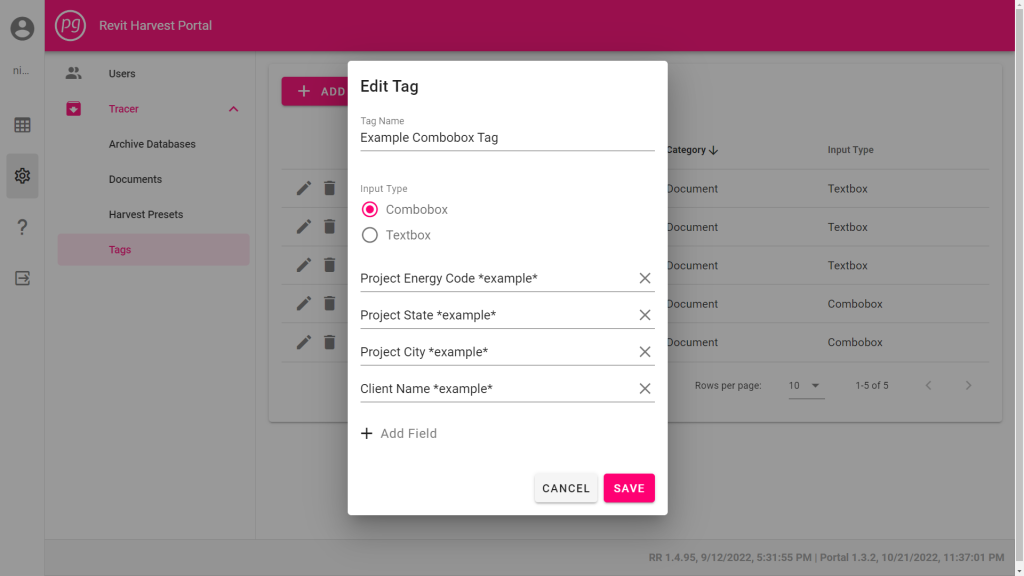
Create a Combobox Tag
A combobox tag allows users to group tag types.
To create a combobox tag:
- Select the “Add New Tag” button from the Tag Management Panel. A “New Tag” window will appear.
- Enter a unique Tag Name, and select the “Combobox” input type. An empty Field line will appear.
- Type in a name for the Field, and select “Add Field” to create a new empty Field line. Repeat as needed.
- Select the “Save” button to create the tag and return to the Tag Management Panel.
Edit a Tag
- Select the Pencil icon in line with the Tag you wish to edit. The “Edit Tag” window will appear.
- Edit the tag name, input type, and fields (if applicable). Note that if you change a tag from a “Combobox” type to a “Textbox” type, the fields will be removed.
- Select “Save” to apply the changes and return to the Tag Management Panel.
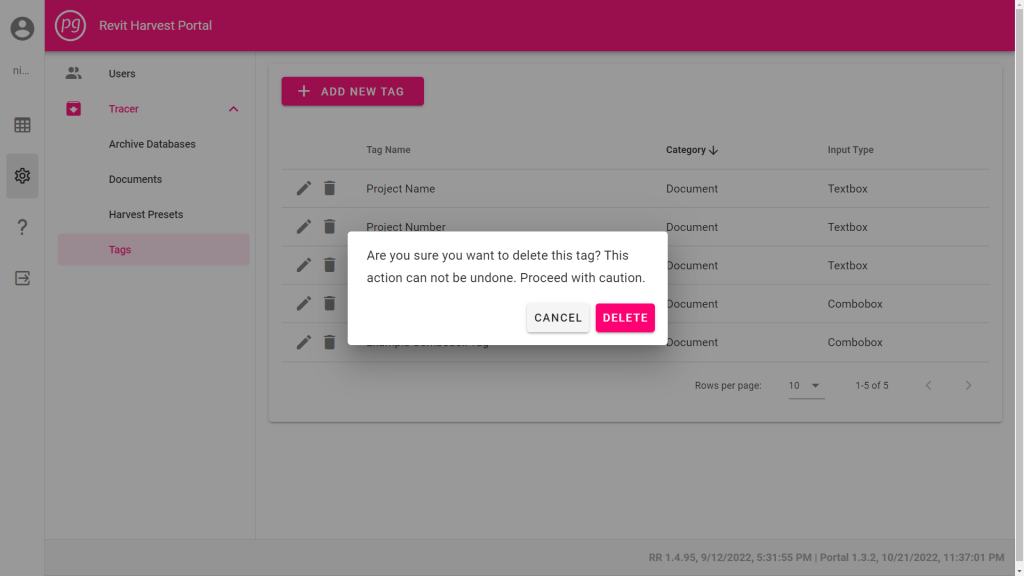
Delete a Tag
- Select the Trash Bin icon in line with the tag you wish to delete. A warning will appear.
- Select “Delete” to permanently delete the tag.