1. Open a Revit model document
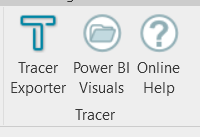
Open a Revit model document (rvt). Under the Proving Ground tab find the “Tracer Exporter” command.
2. Adjust your settings
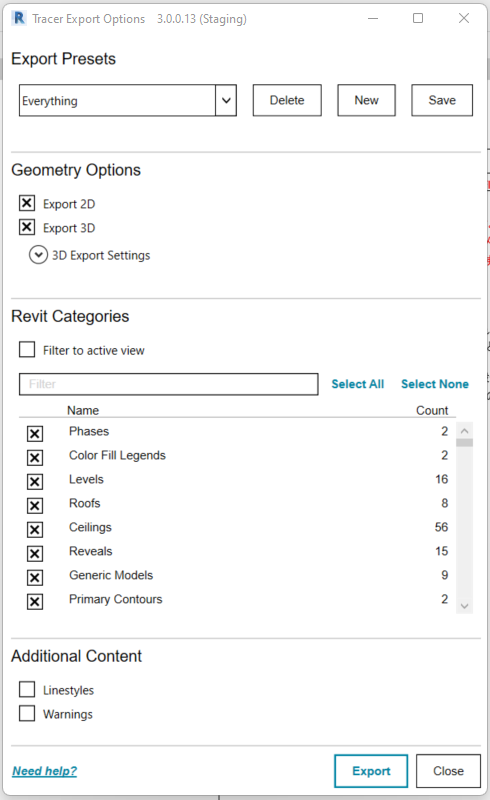
Adjust your export settings as needed. You can select 2D and 3D export options and select which Revit element categories should be exported.
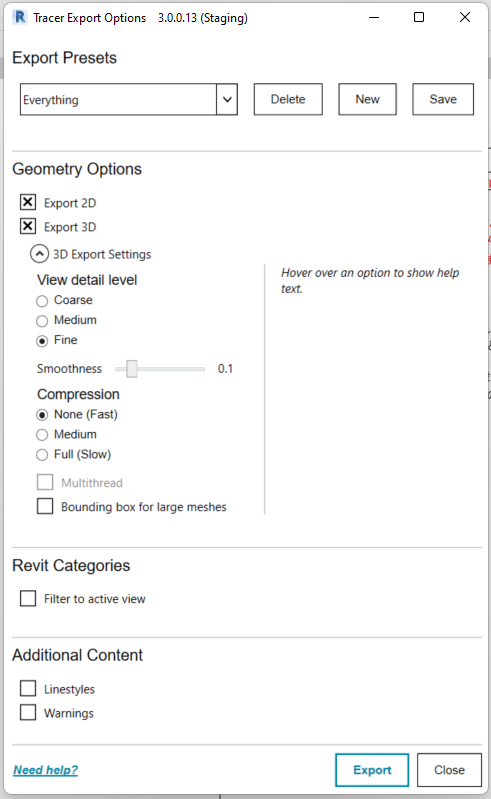
Under “3D Export Settings” Note that “Bounding Box for Large Meshes” is unchecked in the default settings for Tracer V3.
Setting Descriptions:
Export Presets
- Everything: Will export all 3D geometry and model data
- Rooms, Areas, Spaces: Exports 3D room geometry and areas of each room.
- Shell and Structure: Exports 3D geometry and parameters associated with walls, roofs, and structural elements
Geometry Options
- Export 2D: Will export 2D geometry
- Export 3D: Will export 3D geometry
3D Export Settings
- View Level Detail: Detail level to be used to generate 3D geometry. Affects Feature detail (e.g. knobs on doors). Any curved surfaces will subsequently be tessellated using the detail setting. A setting other than fine will cause some elements (e.g. pipe fittings) to not export meshes.
- Smoothness: Smoothness of curved surfaces. Higher values may cause export to take longer and database to be larger. Smoothness is set to 0.1 by default
Compression:
- None (Fast): 3D models will be uncompressed. Complex objects may not be visible in PowerBI because of PowerBI’s data size limits.
- Medium: Only 3D models that would not otherwise display in PowerBI will be compressed. Even compressed models may still not display if they are very large.
- Full (Slow): Compress all 3D models. Results in the smallest database file size
- Multithread: Check to use multiple processors to compress meshes. Avoid running other programs while using Tracer with this option selected as this may result in instability. Not applicable if Compression is set to None.
- Bounding Box for large meshes: After compression, if any, replace meshes which are too large to display in PowerBI with a bounding box. This will be unchecked by default in Tracer V3.
Revit Categories
Tracer will only export elements whose category(ies) are selected here.
- Filter to Active View: Reduces list of available categories to those visible in the active Revit view.
- Search bar: Users can search for categories
- Select All: Selects all categories
- Select None: Deselects all categories
- Category list: Check the boxes for the desired categories. Count Column shows the number of instances for each category
Additional Content: Create database elements from other non-element Revit content
- Linestyles: Will export data related to Linestyles
- Warnings: Will export Warnings
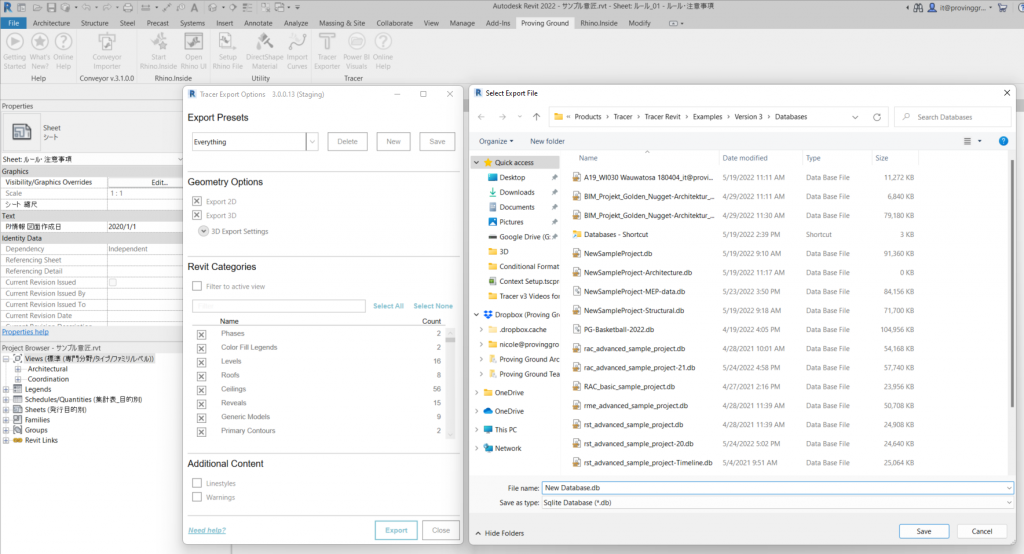
3. Choose a save location
Choose where to save your exported data.
4. Wait for export process to complete
Tracer will activate a status bar to show the export process. When complete, Tracer will display a message indicating that the export was successful.
Note: Numeric values – such as lengths and areas – utilize Revit’s internal units which are decimal feet.
5. Verify that a SQLite has been created
After the export is complete, a SQLite (*.db) file will be created.
- Explore the data with a free SQLite DB Browser.
- Download our Tracer Power BI template and connect to the data.