Document Management Page
- Select “Admin”, or the Gear icon, from the collapsible main menu on the left side of the screen
- Select “Documents” from the Tracer submenu
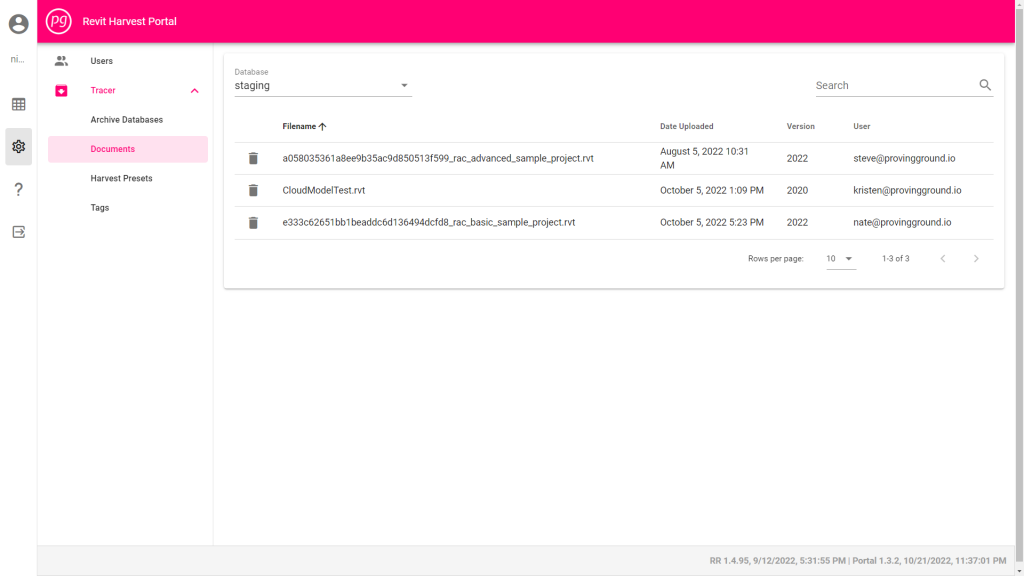
- Choose a Database from the dropdown menu to see the associated files.
- For each file, you will see the Revit file name, it’s upload date and time, the Revit version (year), and the User who uploaded it.
Helpful hints:
- The number of Rows per Page can be adjusted by selecting a value from the dropdown menu.
- The rows can be sorted by clicking on a header name. The order can be reversed by clicking once more.
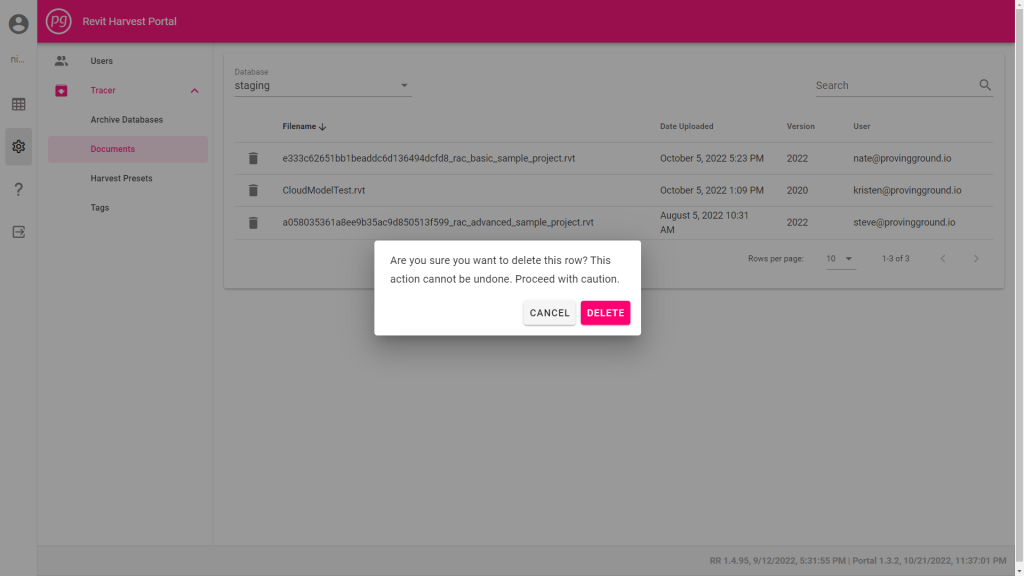
Delete a Document
- Select the trash bin icon in line with the file that you wish to delete from the database. A confirmation window will appear.
- Select “Delete” to permanently remove the file from the database.