Import a Block Object
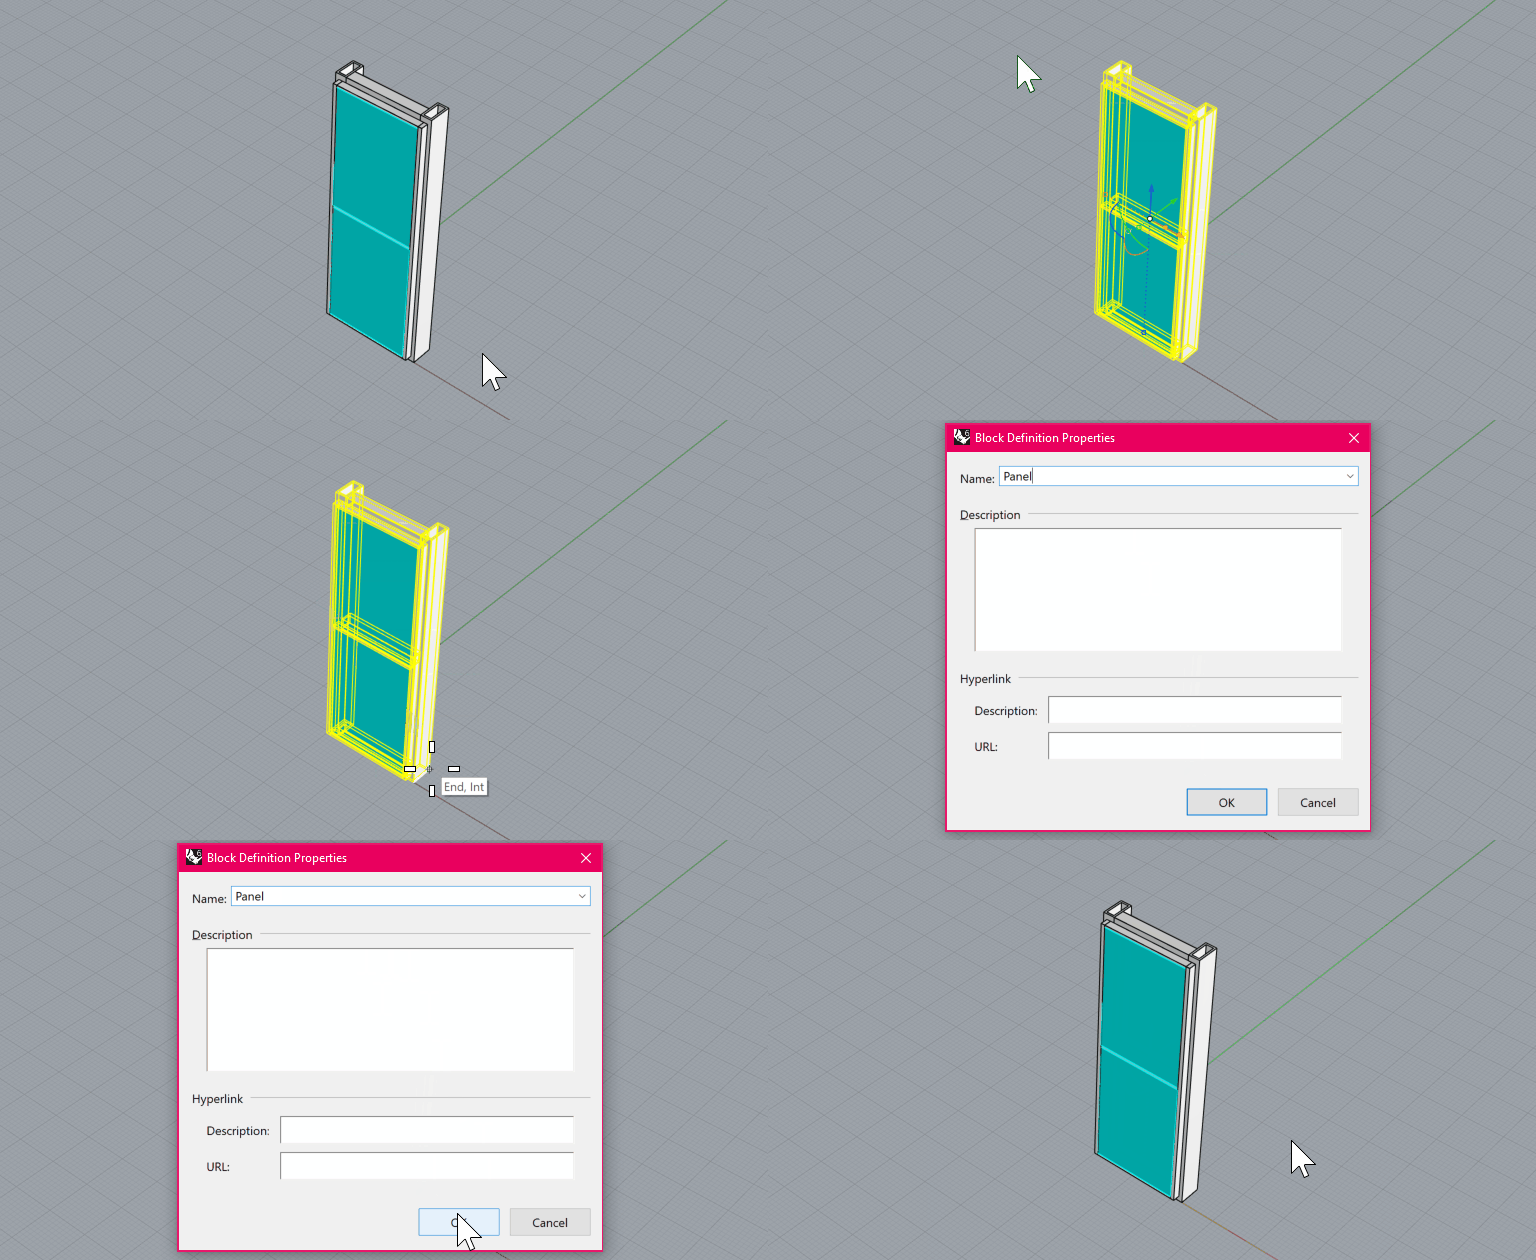
1. (Rhino) Select a series of solids and make them a block
Supported blocks are made up of solids and mesh Rhino objects. Select a collection of objects and turn them into a Rhino block with an origin point and name.
Conveyor V4 supports nested blocks, where one or more blocks are included in a single block definition.
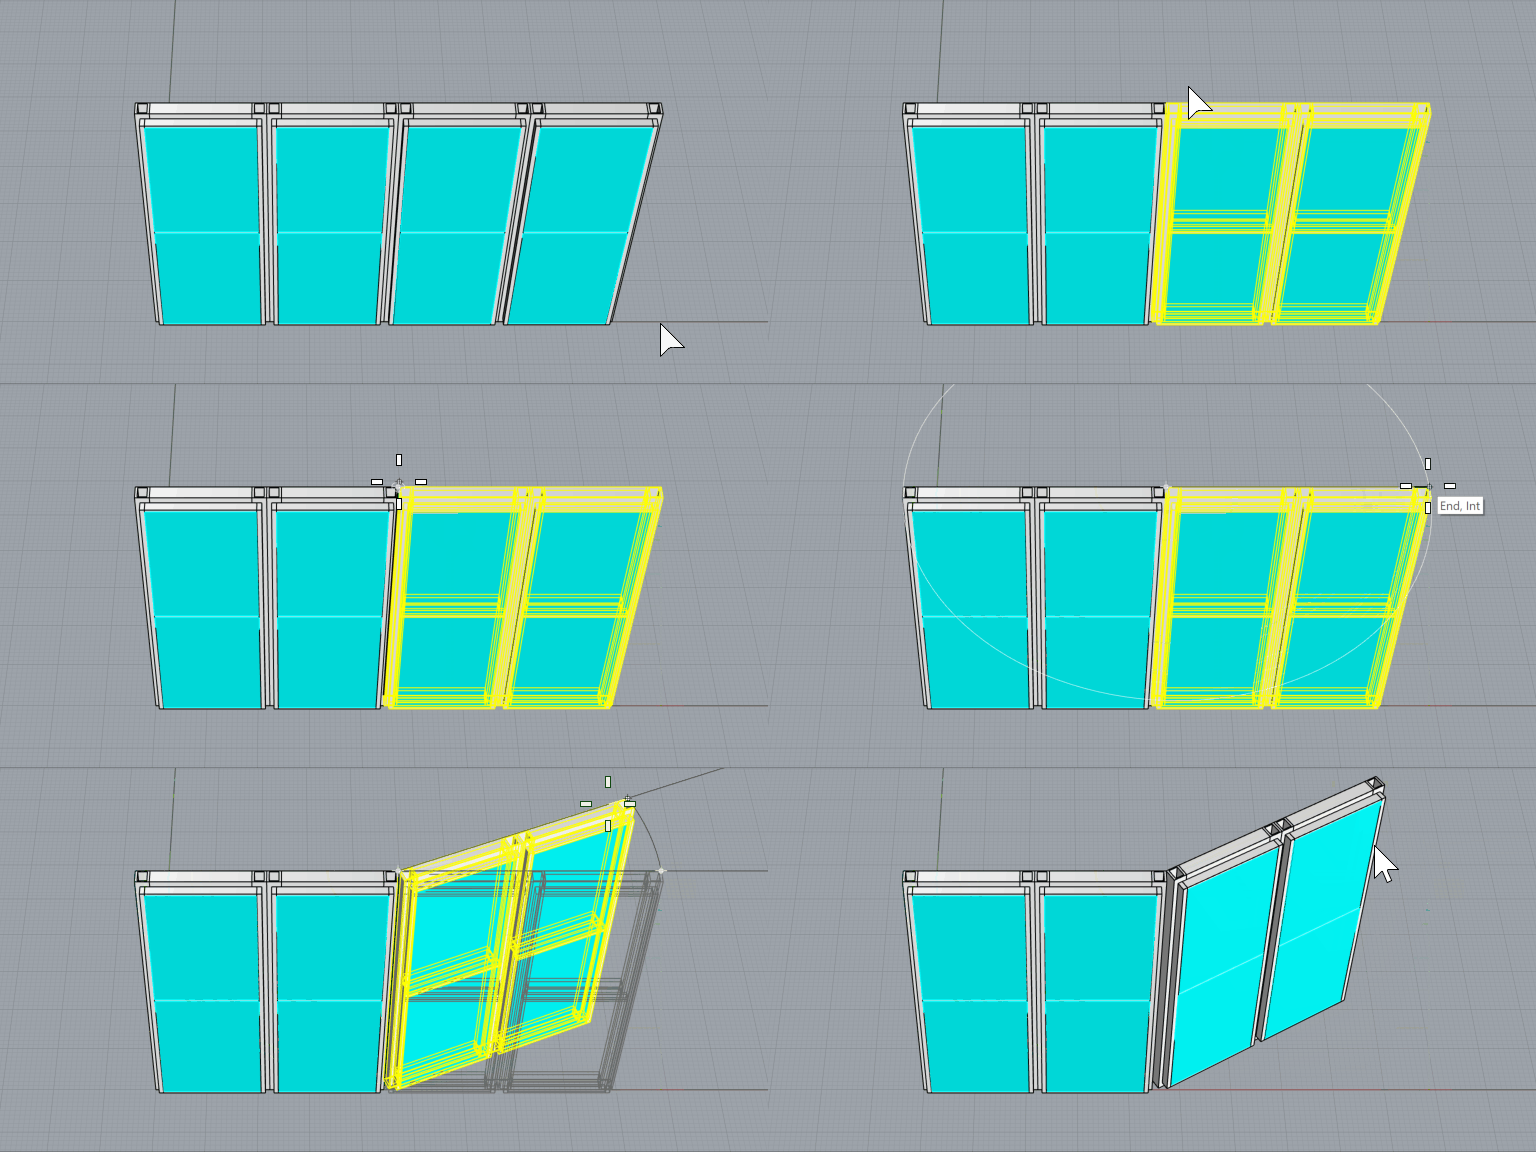
2. (Rhino) Copy a series of block instances
Copy the block to create several instances in the Rhino document.
Conveyor supports copies that have been moved or possess Z-axis rotation. (transformations such as mirror, shear, or scale are not supported)
180-degree rotations along the Z-axis are not recognized by the Revit API in certain instances. If a block element is importing with an incorrect orientation, try rotating it by 1 degree and re-importing.
BLOCK TRANSFORMATIONS
Supported transformations, relative to a block’s insertion point:
- Move
- Rotate along the Z-axis, except for 180-degree rotations
Unsupported transformations:
- Mirror
- Shear
- Scale (1D, 2D, or Uniform)
- 180 degree rotation
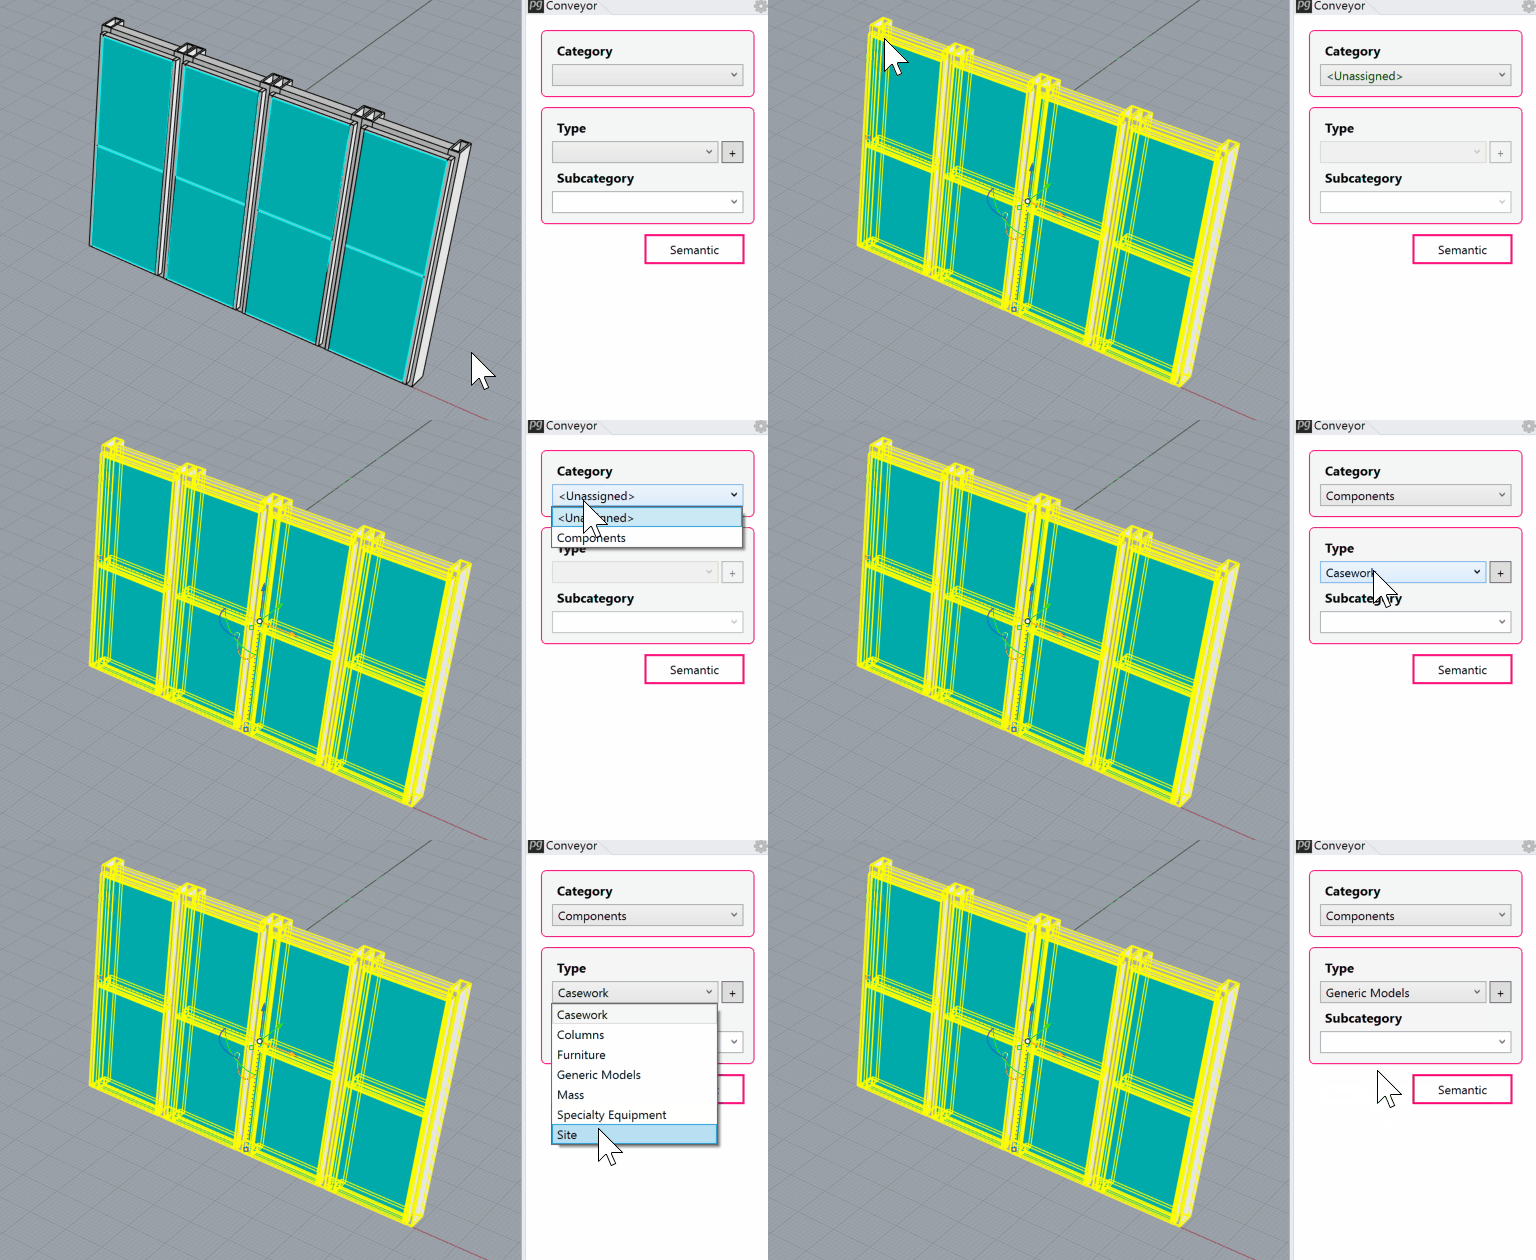
3. (Rhino) Assign block instances to a Conveyor category
Assign the block instances to the Conveyor components category and specify an available Revit category (such as Generic Models)
Save the Rhino file.
4. (Revit) Launch Rhino Conveyor and select saved Rhino 3DM file
In the Rhino Conveyor panel, select the Rhino 3DM containing the block object(s). Verify the listing of elements and select as needed.
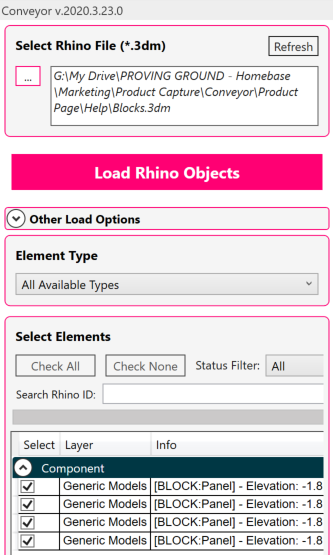
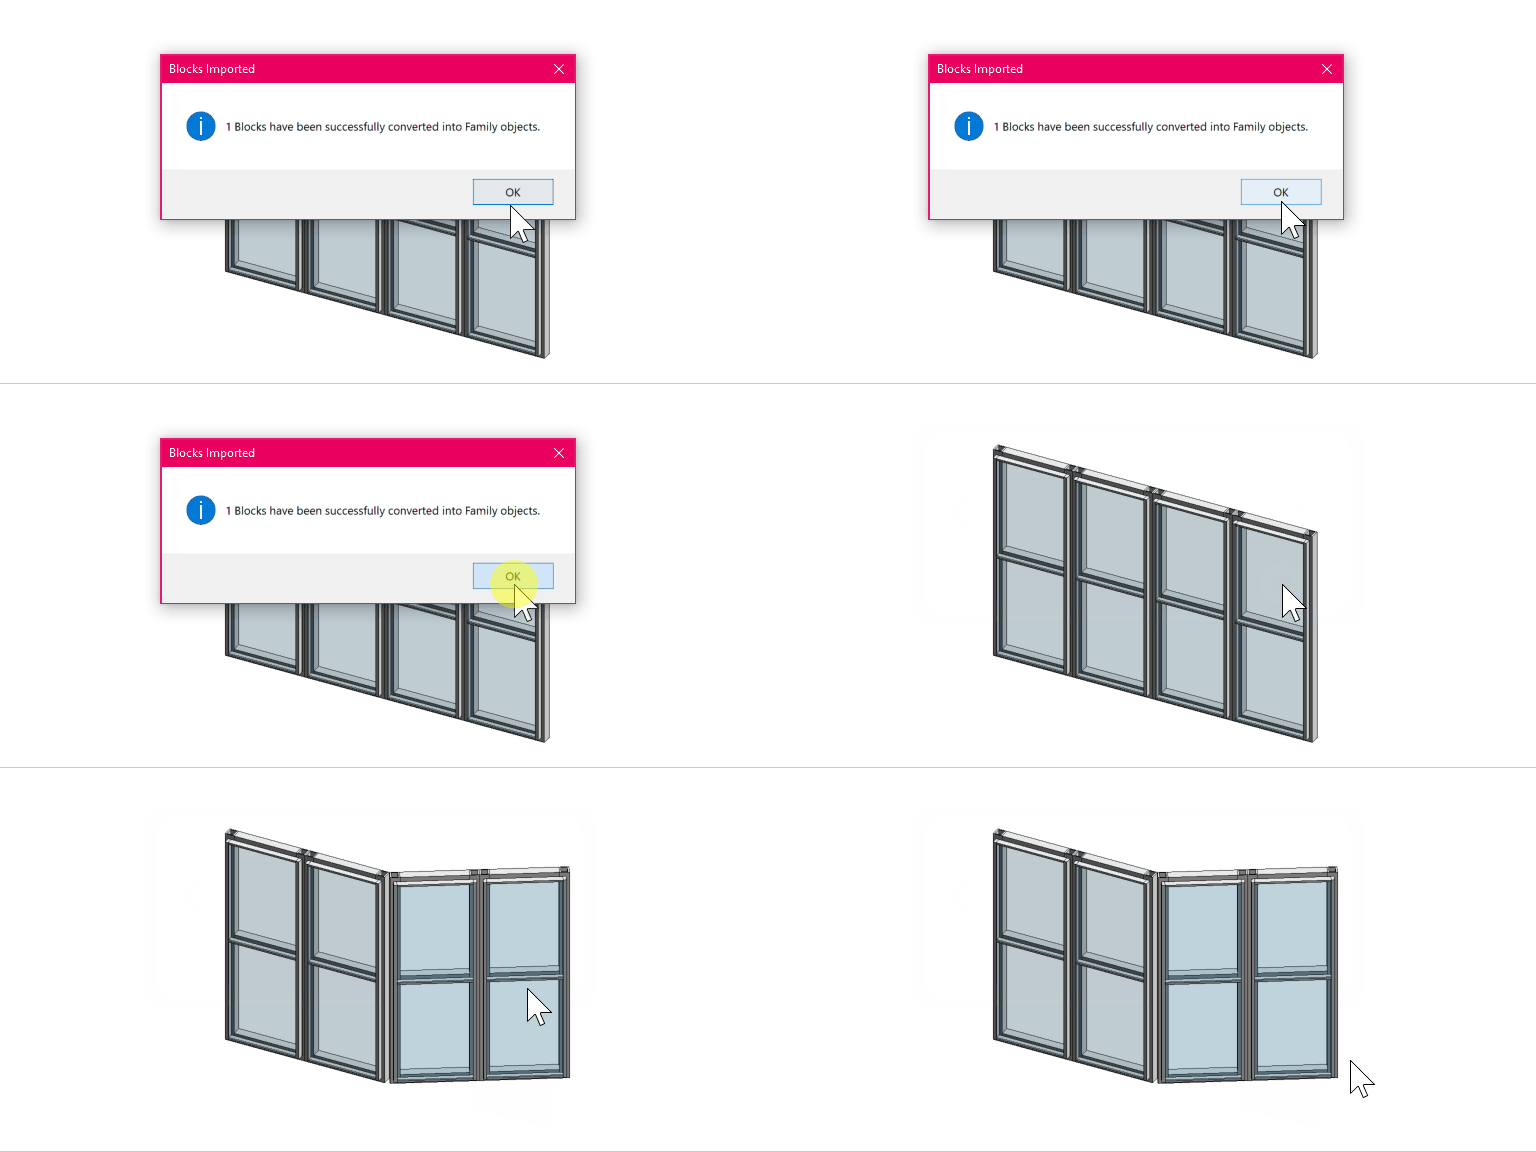
5. (Revit) Load the Block Definitions as a Revit Family
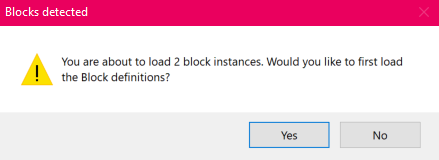
When loading the block instances, Conveyor will prompt you to load the block definitions first to create the families.
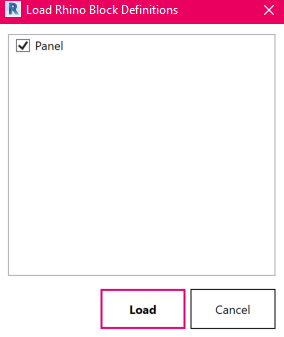
5. (Revit) Load Selected Instances
Load the block instances into the Revit document.
Note that in the case of a nested block, Conveyor will create one Revit family for the “parent” block and will not create additional families for the “child” blocks.

Modify and Update Block Families
1. (Rhino) Edit the block definition
Double-click into a Rhino block. Perform geometry edits to objects. Users can also and/or delete objects from the block.
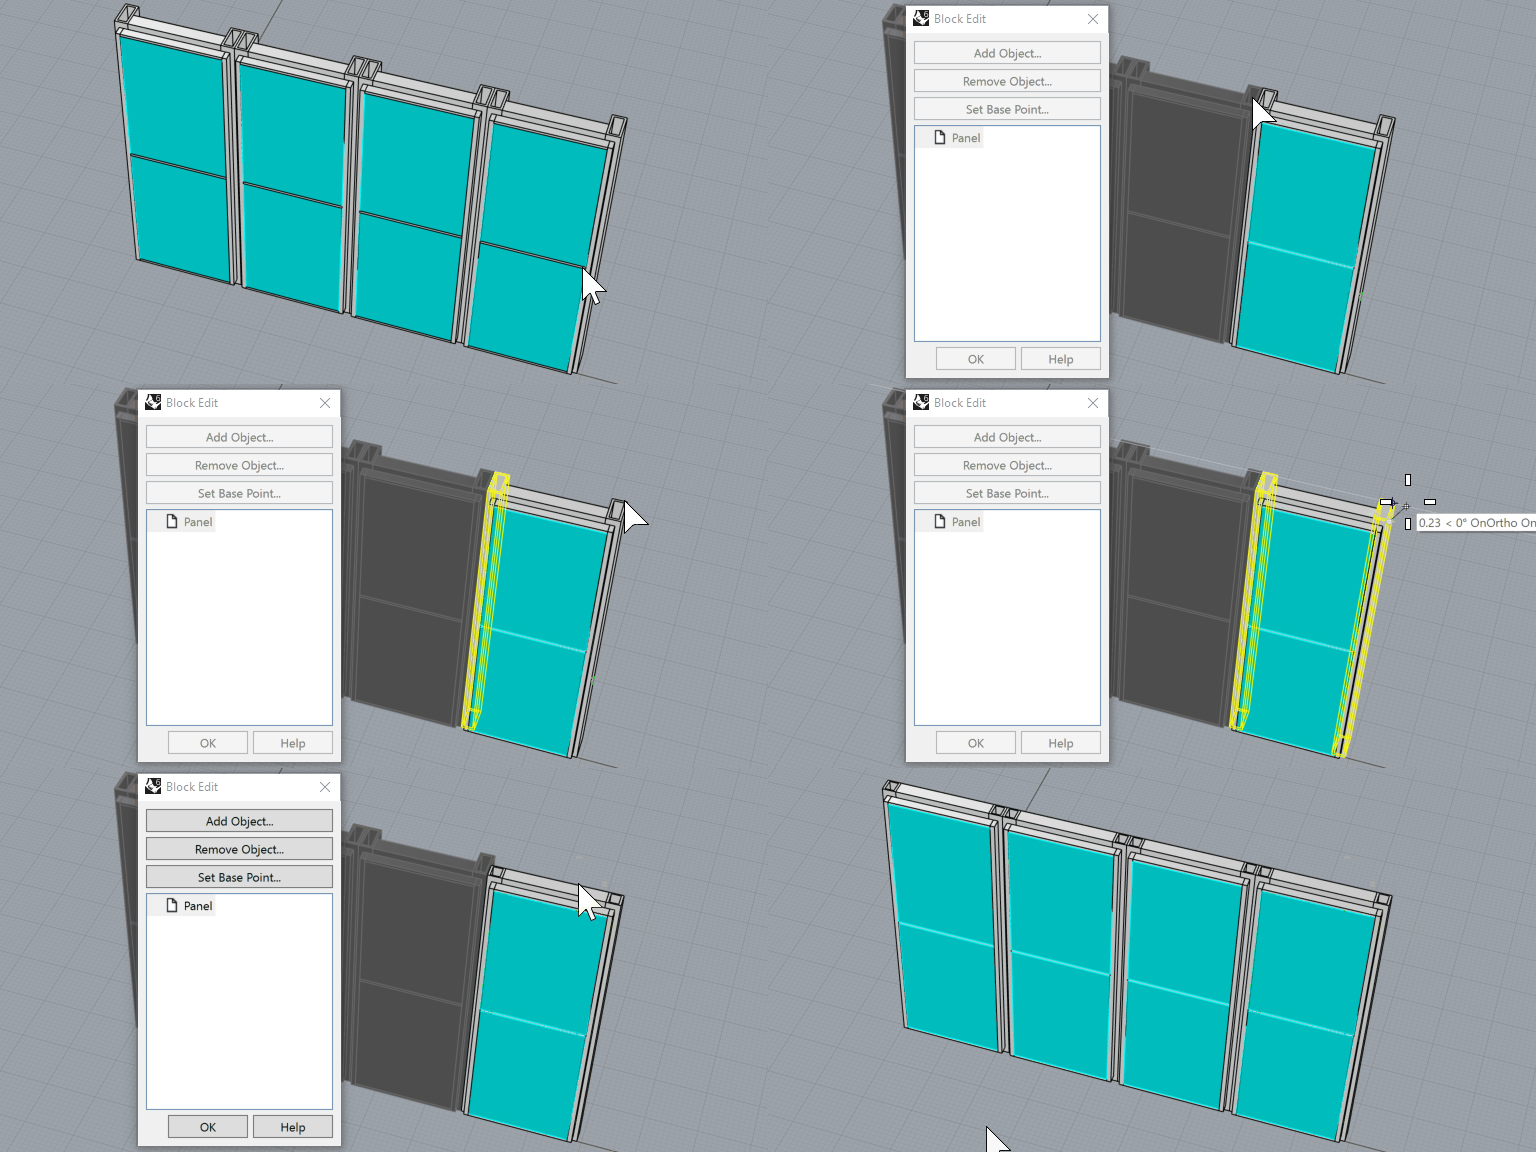
2. (Rhino) Move a block instance
Move or rotate the block instances to new positions in the Rhino document.
Save the Rhino file.

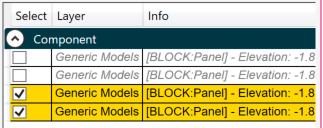
3. (Revit) Refresh the file in Rhino Conveyor and review changes
Review the changes to the element list. The element list will highlight the Instances that will be re-positioned in Revit.
4. (Revit) Reload the block instances
Users will first be prompted to reload the block definition – this is optional if you do not want to update the Revit family geometry.
After load, the Family instances will be re-positioned (moved or rotated)
