Workflow with Rhino – Surface
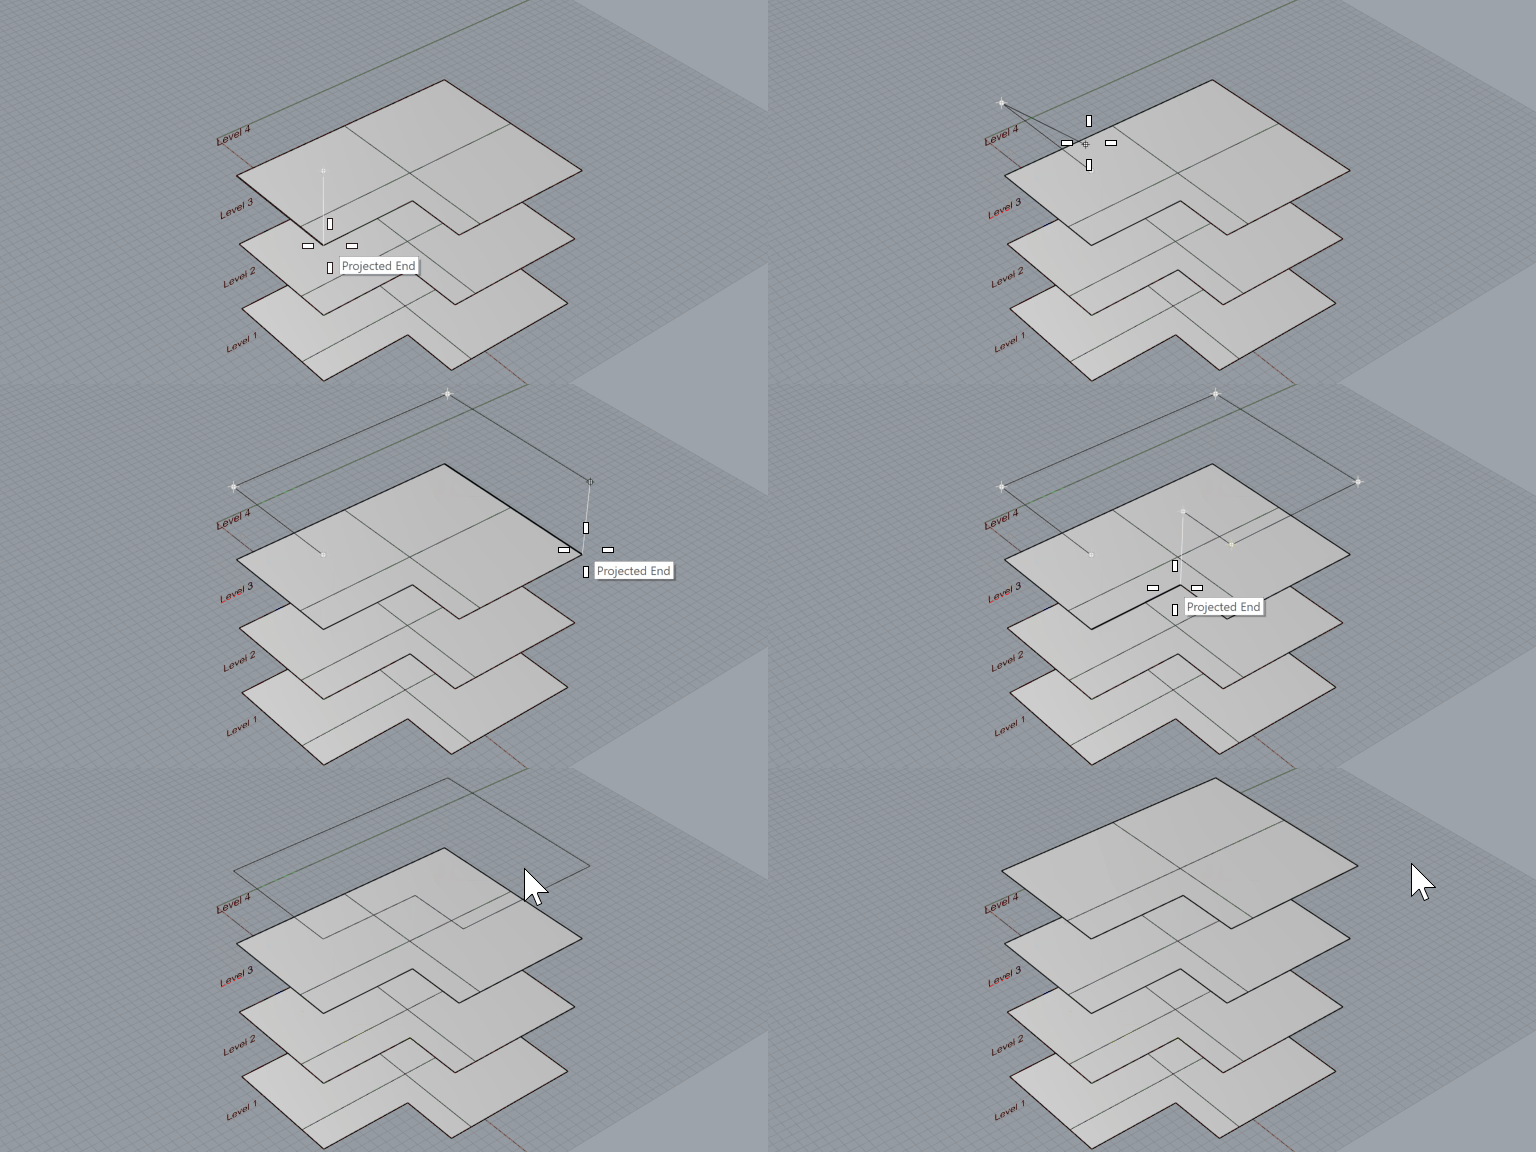
1. (Rhino) Define a planar surface object
Define a planar surface at an elevation matching a known level in Revit. The surface can have trims and holes.
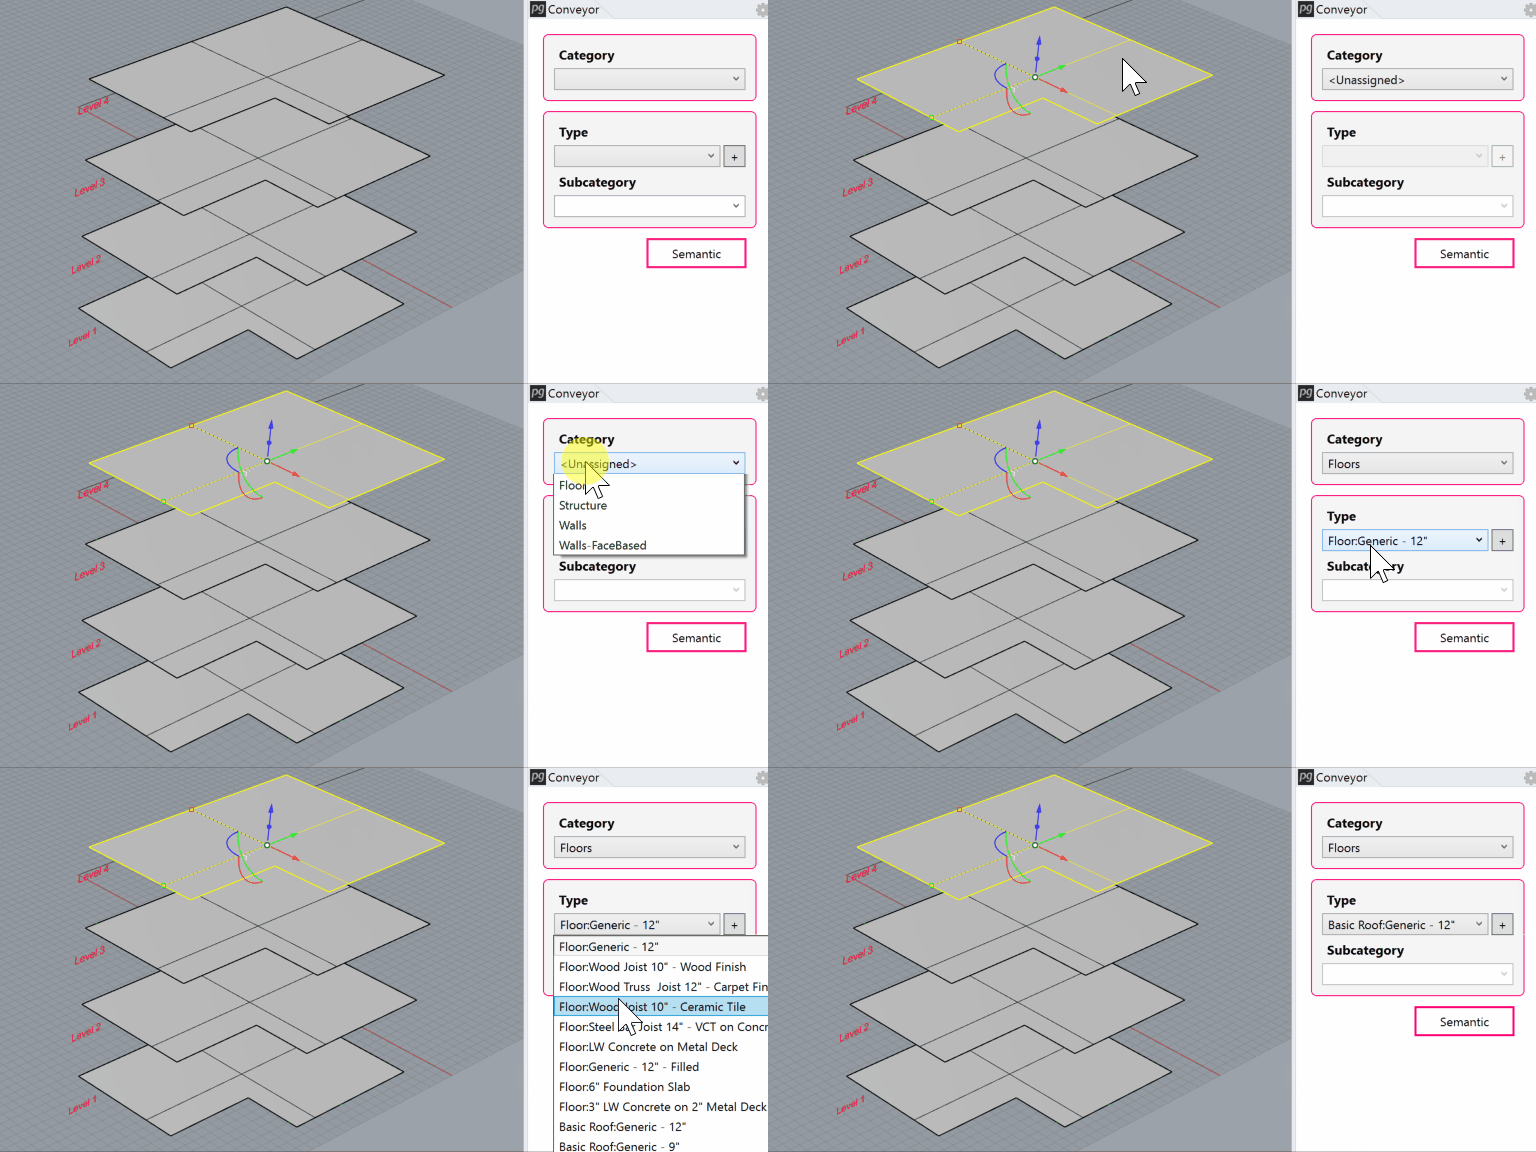
2. (Rhino) Assign the surface to a roof category
Select the Floor category and the desire Roof type from the Conveyor UI. Roof types are found under the Floor category.
Save the Rhino file.
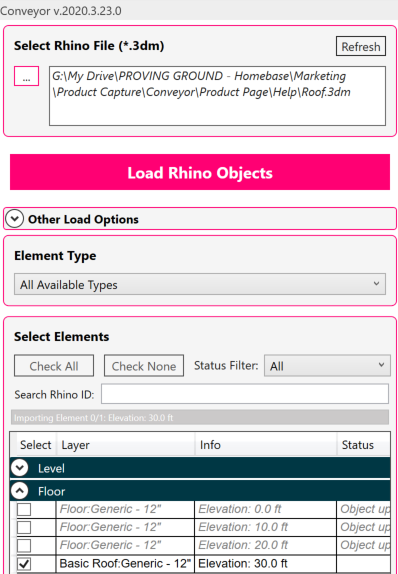
3. (Revit) Launch Rhino Conveyor and select saved Rhino 3DM file
In the Rhino Conveyor panel, select the Rhino 3DM containing the roof object(s). Verify the listing of elements and select as needed.
4. (Revit) Load selected roof elements into Revit
Click the “Load Rhino Objects” button to load the roofs. The roofs will be created as native Revit floors with the roof type.
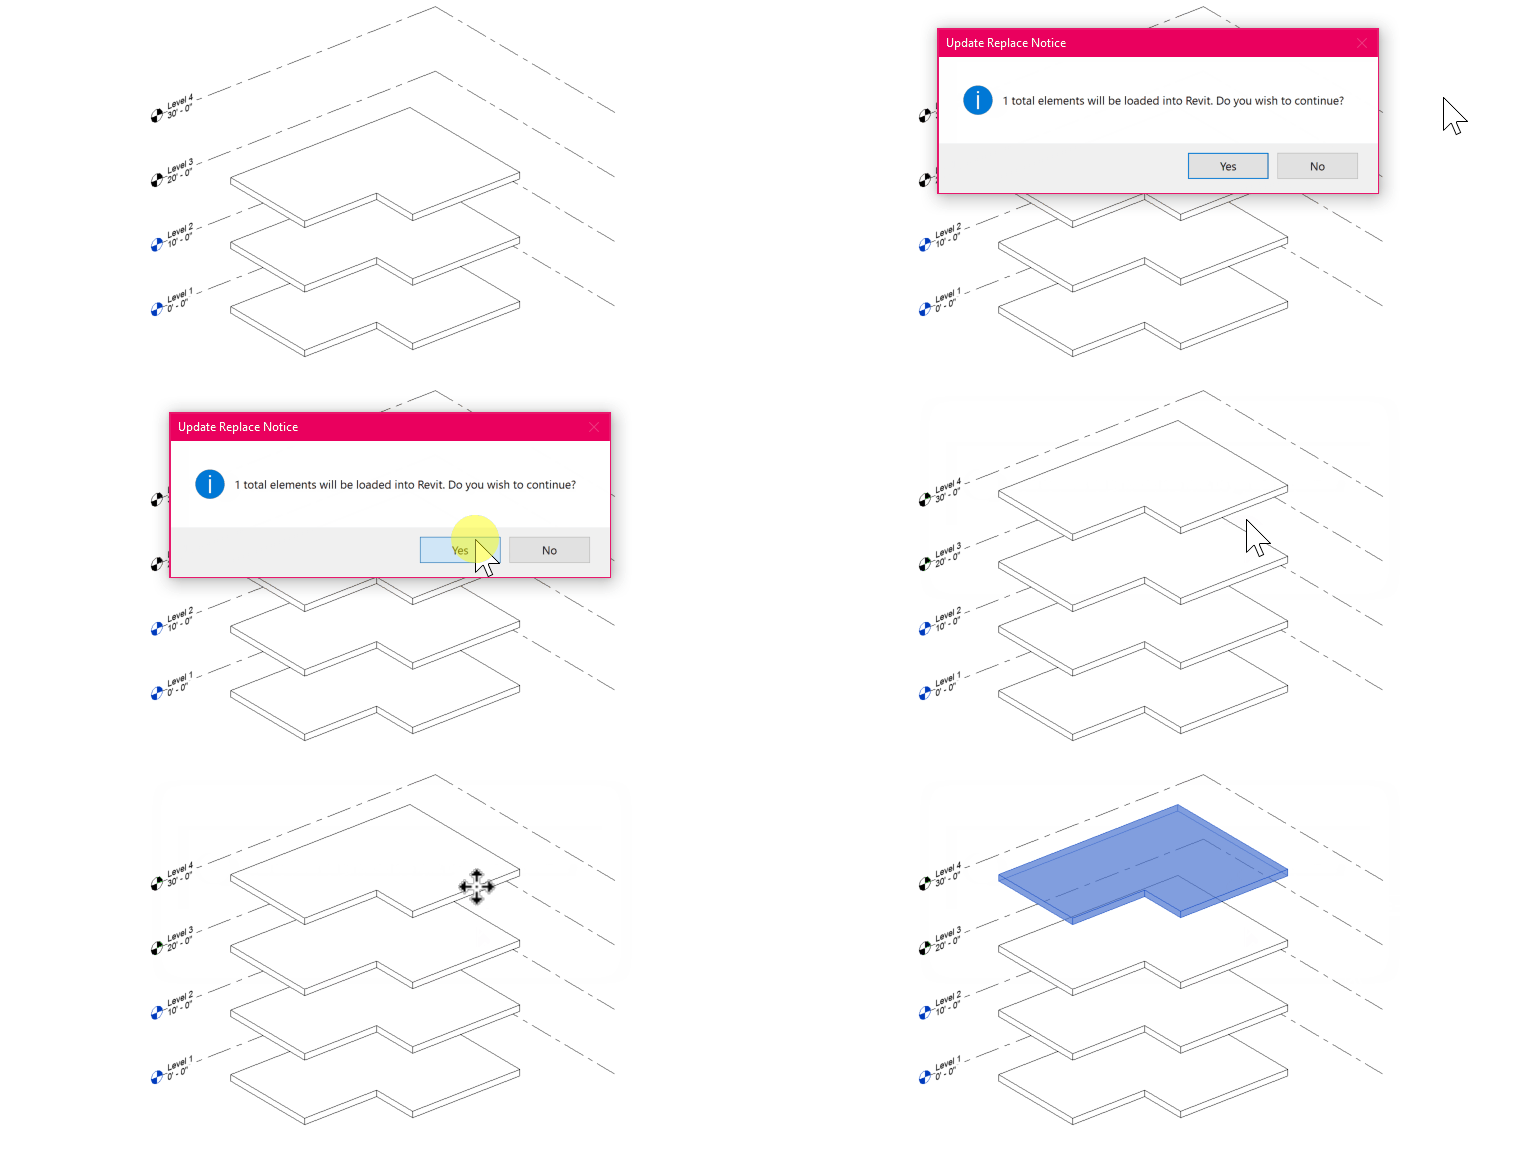
Modify and Update Roof
1. (Rhino) Modify the roof surface in Rhino
Edit the roof in Rhino – such as moving and edge, scaling, or trimming.
Save the Rhino file.
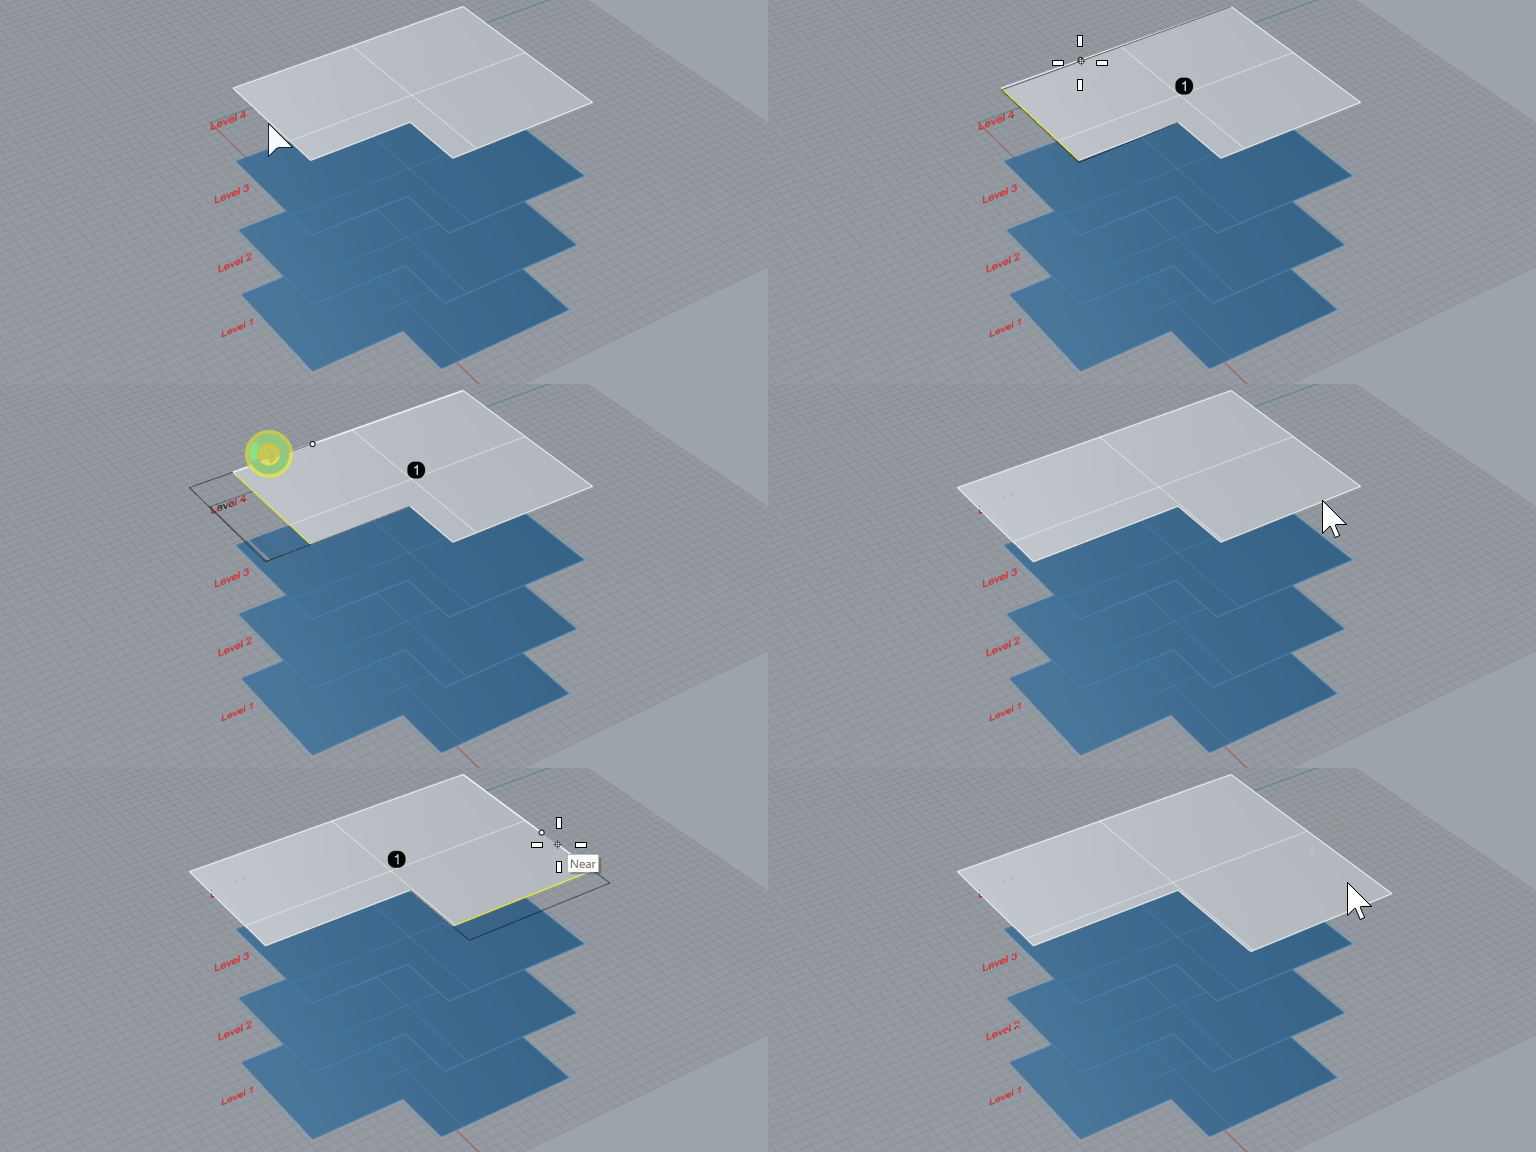
2. (Revit) Refresh the file in Rhino Conveyor to review changes
Refresh the Rhino file from the Rhino Conveyor panel in Revit. Review the updated elements.

3. (Revit) Load the updates
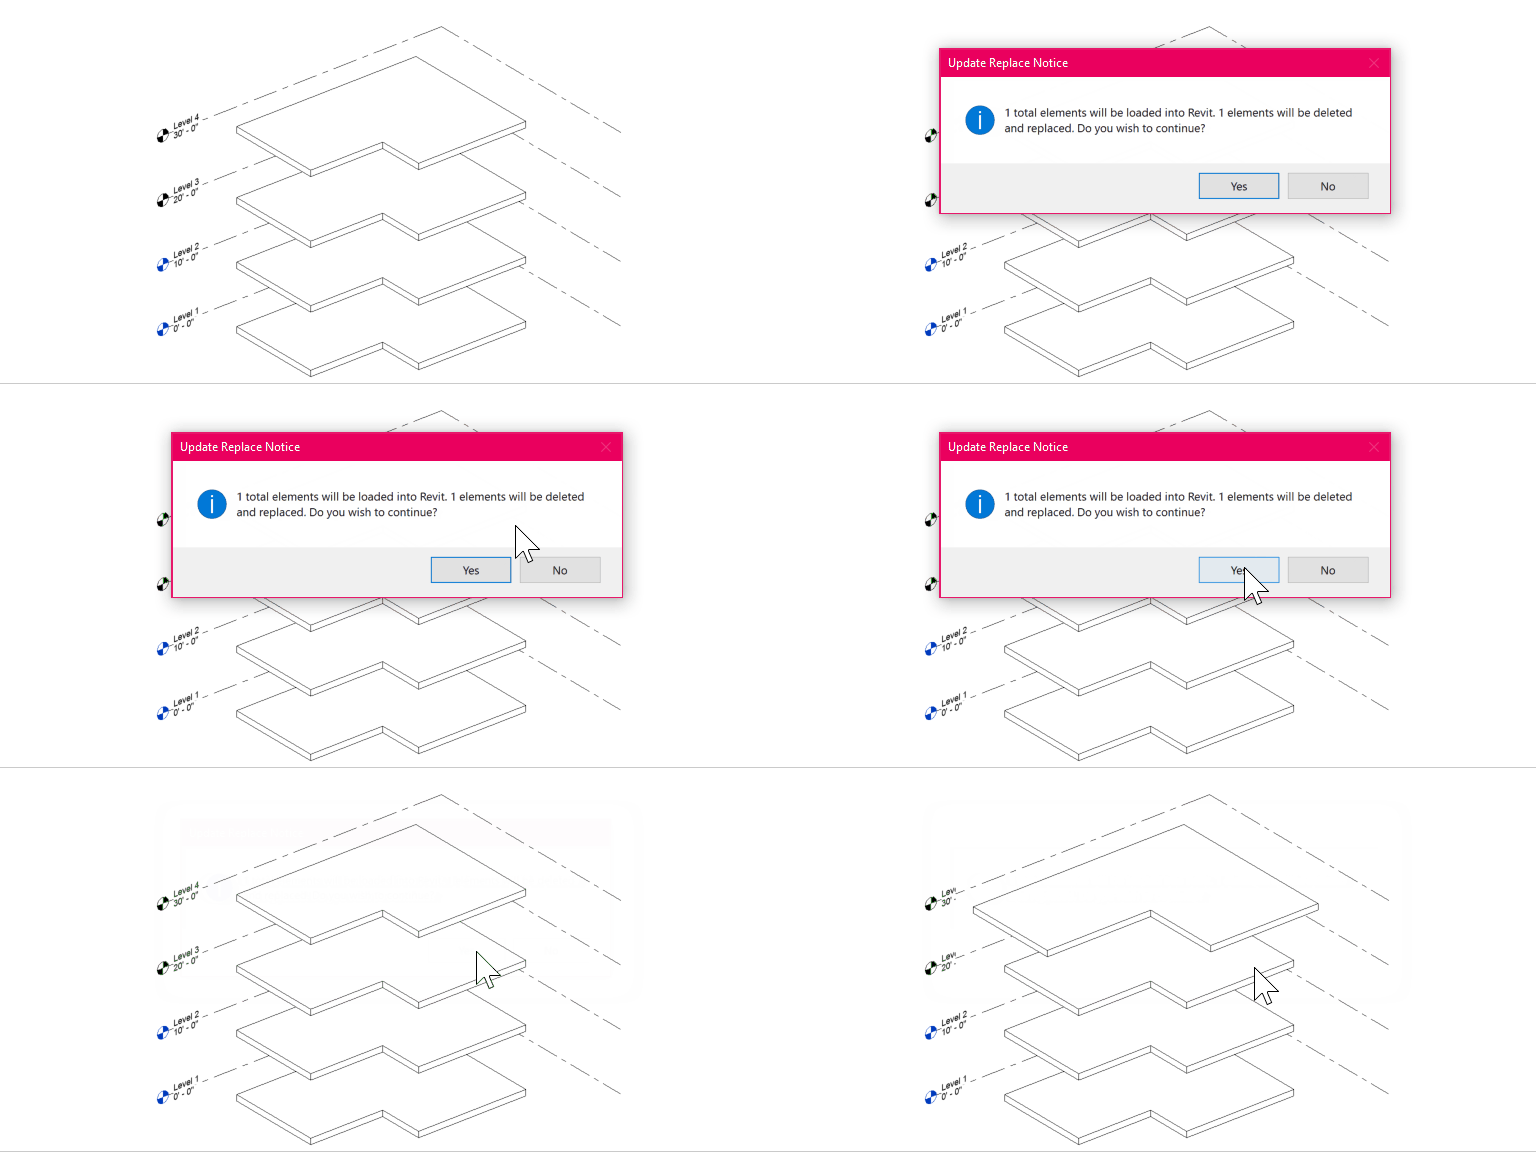
Load the updated Revit roofs. Conveyor will re-recreate the roofs with the new geometry. (Note: roofs are re-created elements IDs will change)
