Workflow with Rhino – Surface
1. (Rhino) Define a surface for the face of a curtain system
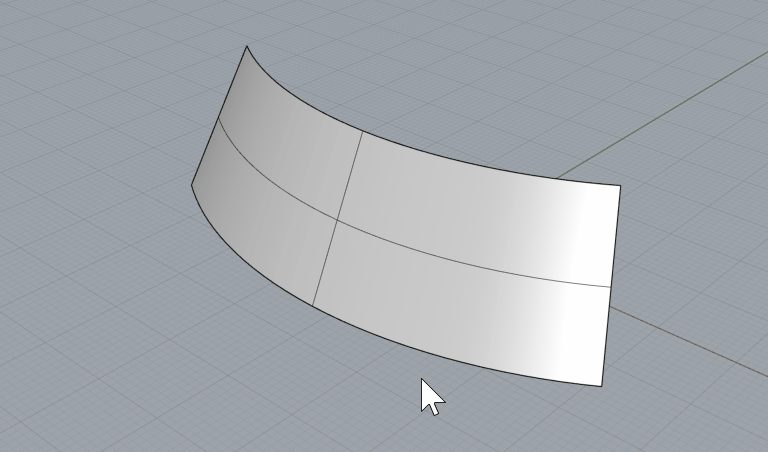
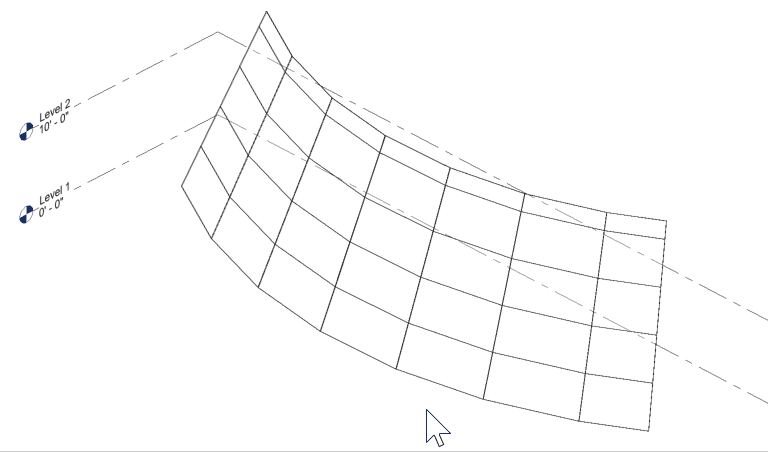
Define a surface representing the controlling face of a face-based curtain system.
Add block
2. (Rhino) Assign the surface to a Curtain System type under Wall-FaceBased
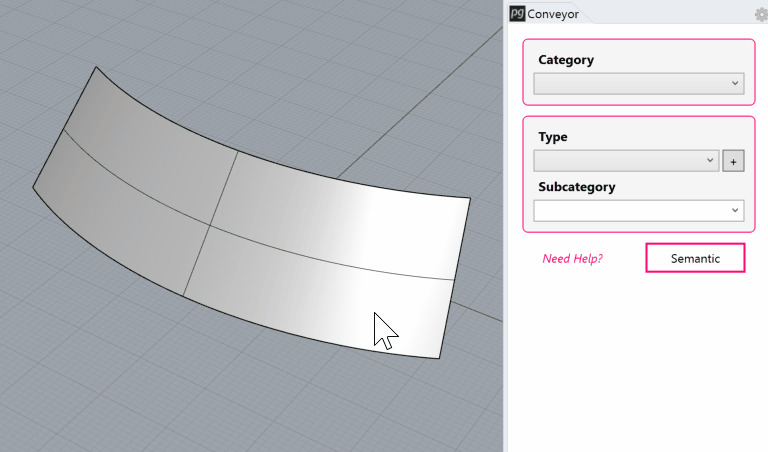
Assign the surface to a Walls-FaceBased category with a Curtain System type.
Save the Rhino file.
Add block
3. (Revit) Launch Rhino Conveyor and select saved Rhino 3DM file
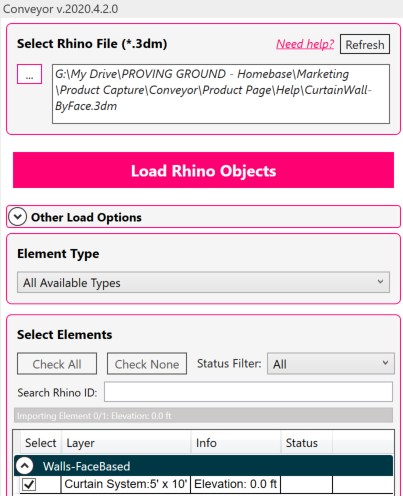
In the Rhino Conveyor panel, select the Rhino 3DM containing the curtain system object(s). Verify the listing of elements and select as needed.
Add block
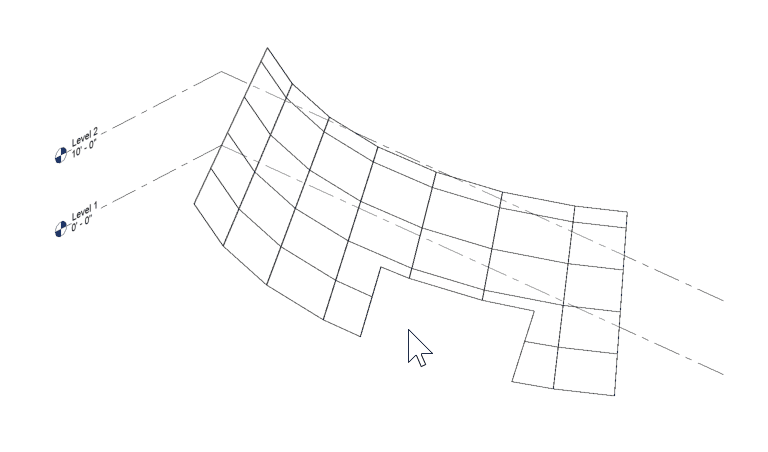
4. (Revit) Load selected wall elements into Revit
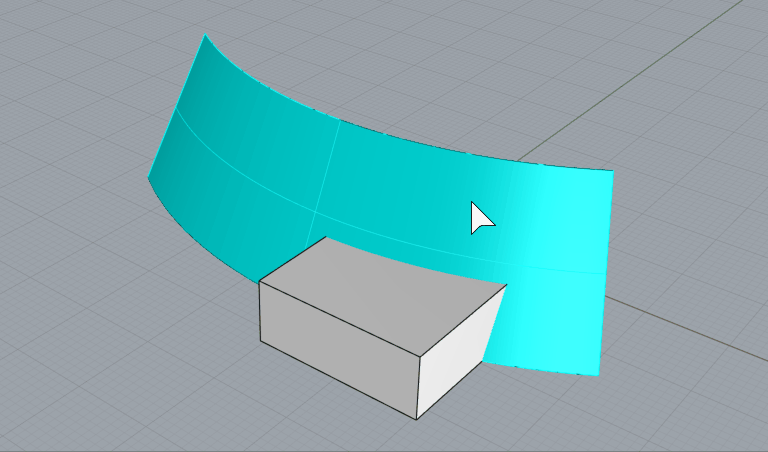
Click the “Load Rhino Objects” button to load the face-based curtain system. The curtain system will be created as native Revit system with the assigned type.
Add block
Modify and Update Curtain Systems
1. (Rhino) Modify the surface
Modify the existing surface defining the Curtain System.
Save the Rhino file.
Add block
2. (Revit) Refresh the file in Rhino Conveyor to review changes
Review available updates to the wall objects. Add block
3. (Revit) Load the updates
Load the updated curtain system into Revit.