Supported Versions: v2.0, v3.0
Rhino.Inside Setup Assumptions
- Revit Requirements: Revit with Rhino.Inside.Revit installed.
- Rhino Requirements: Rhino 7 with the Conveyor v2 plugin installed
To learn more about this setup, here are several video tutorials demonstrating the Conveyor and Rhino.Inside connection.
1. Open the Rhino interface from Rhino.Inside.Revit
Under the Revit “Rhino.Inside” tab, click the “Rhino” button to activate the Rhino modeling interface.

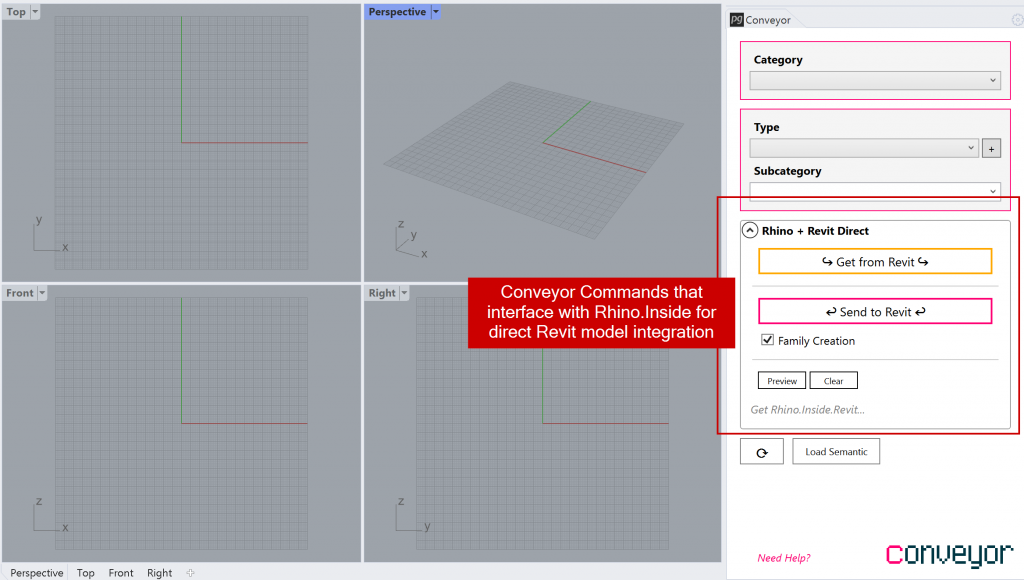
2. Run the “Conveyor” Rhino command to activate Conveyor
Under the Revit “Rhino.Inside” tab, Rhino.Inside.Revit exposes the ability to access Rhino interfaces – including the Rhino’s modeling environment and Grasshopper’s computational design interface.

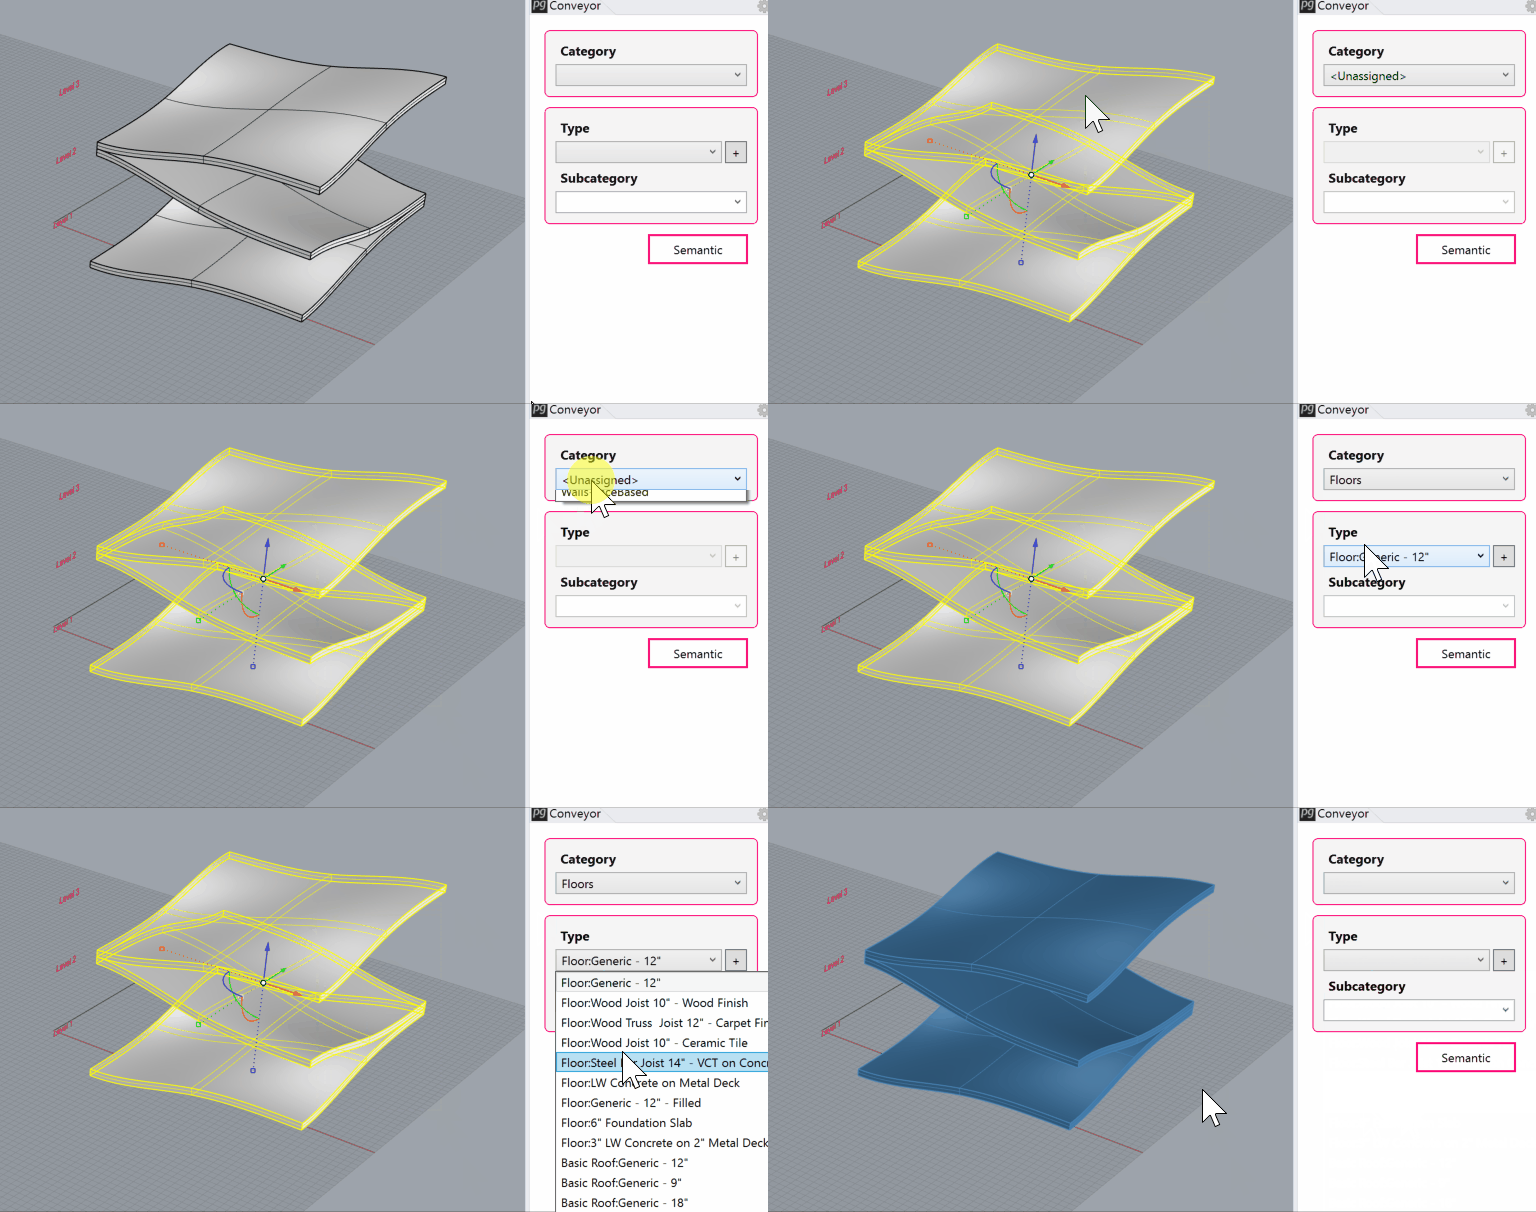
3. Create and/or Select Rhino Objects Representing Floors
Within the Rhino interface, create and/or select Rhino objects representing Floor objects.

4. In Rhino, click “Send to Revit” to Create Revit Geometry
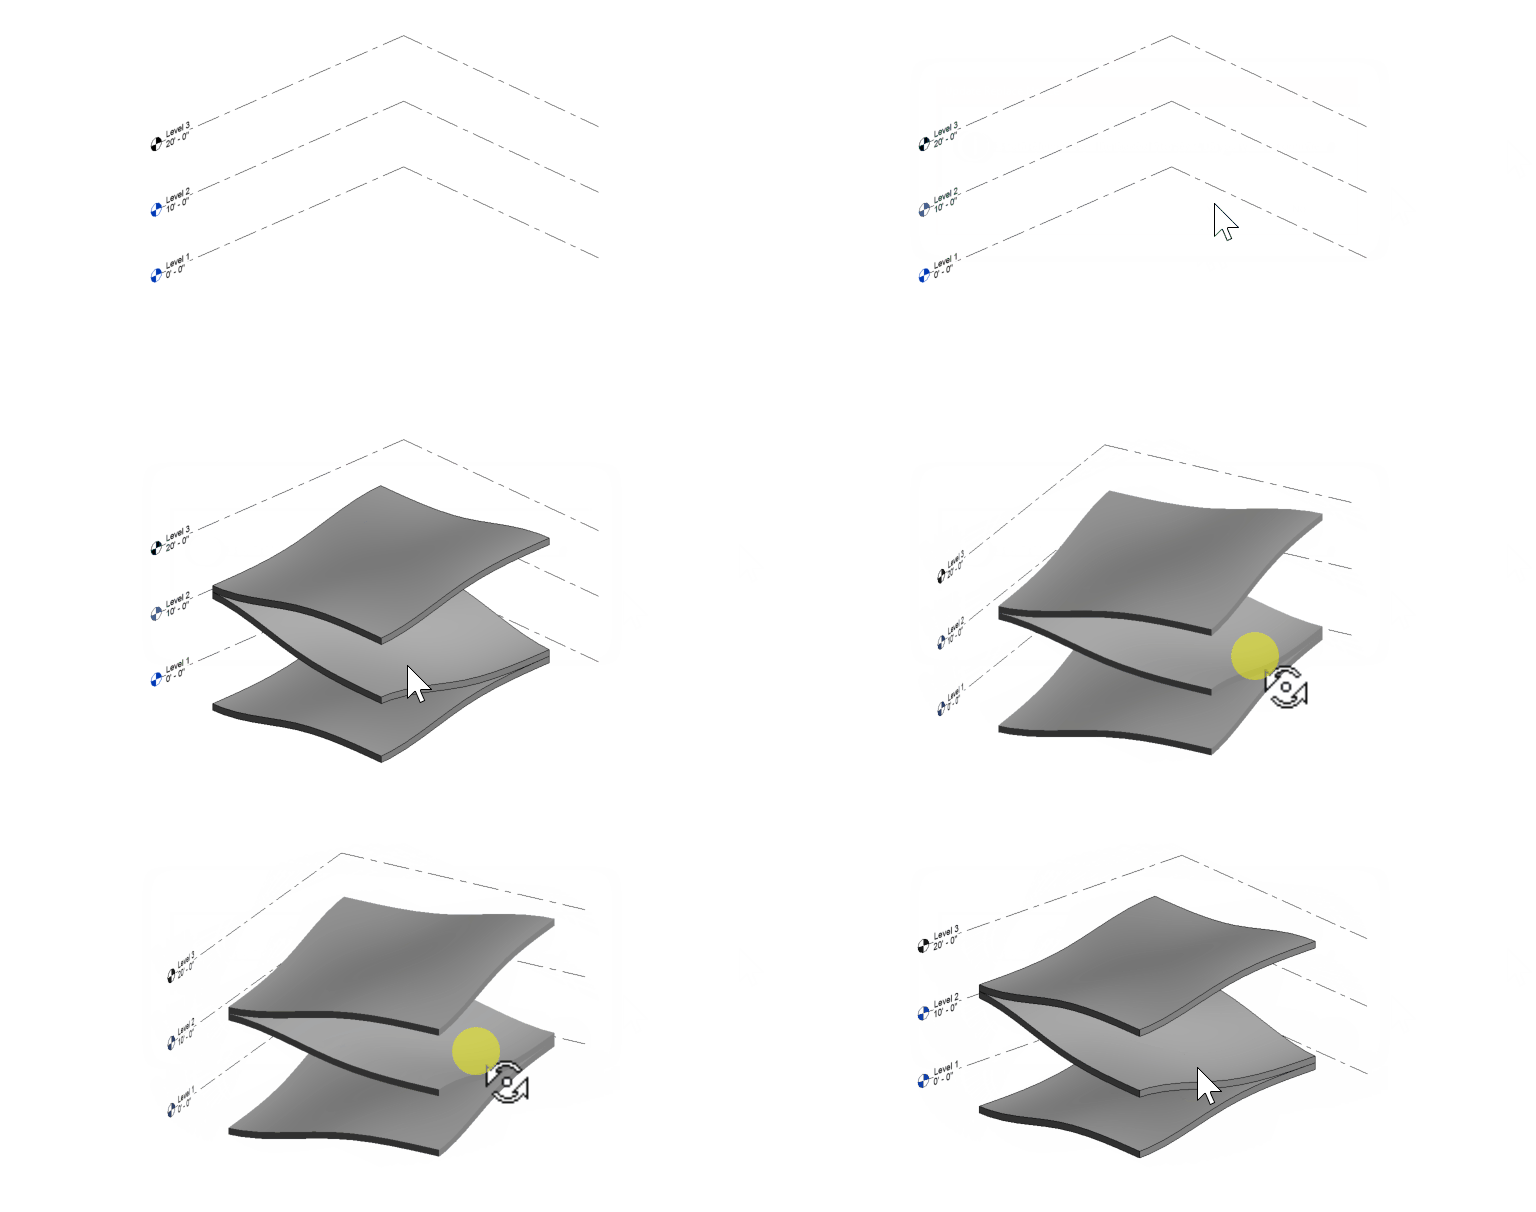
In Rhino, click the “Send to Revit” button and Conveyor will create Revit elements in the active Revit model.

