Workflow with Rhino – Text
1. (Rhino) Define a text object
Create a text object with the text convetion [Room Name]:[Room Number]
2. (Rhino) Assign text to room category
Assign the text objects to the Room category.
Save the Rhino file.
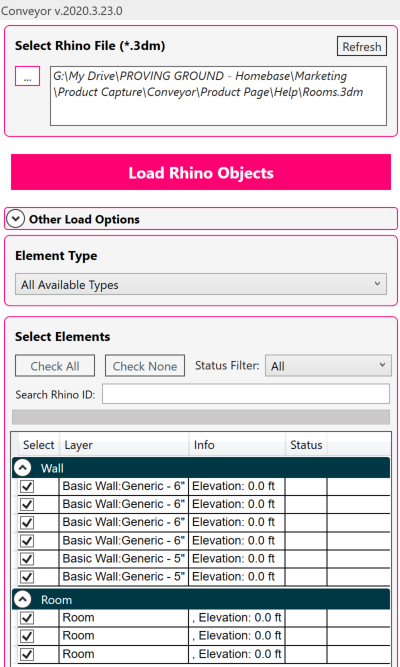
3. (Revit) Launch Rhino Conveyor and select saved Rhino 3DM file
Launch the Rhino Conveyor tool in Revit and select a 3DM file containing room objects. Rooms will also need boundary objects if you want them to report area.
4. (Revit) Load selected levels into Revit
Load the text objects to create rooms. Tag the room category to review the Room Name and Number data.
