Workflow with Rhino – Wall by Face
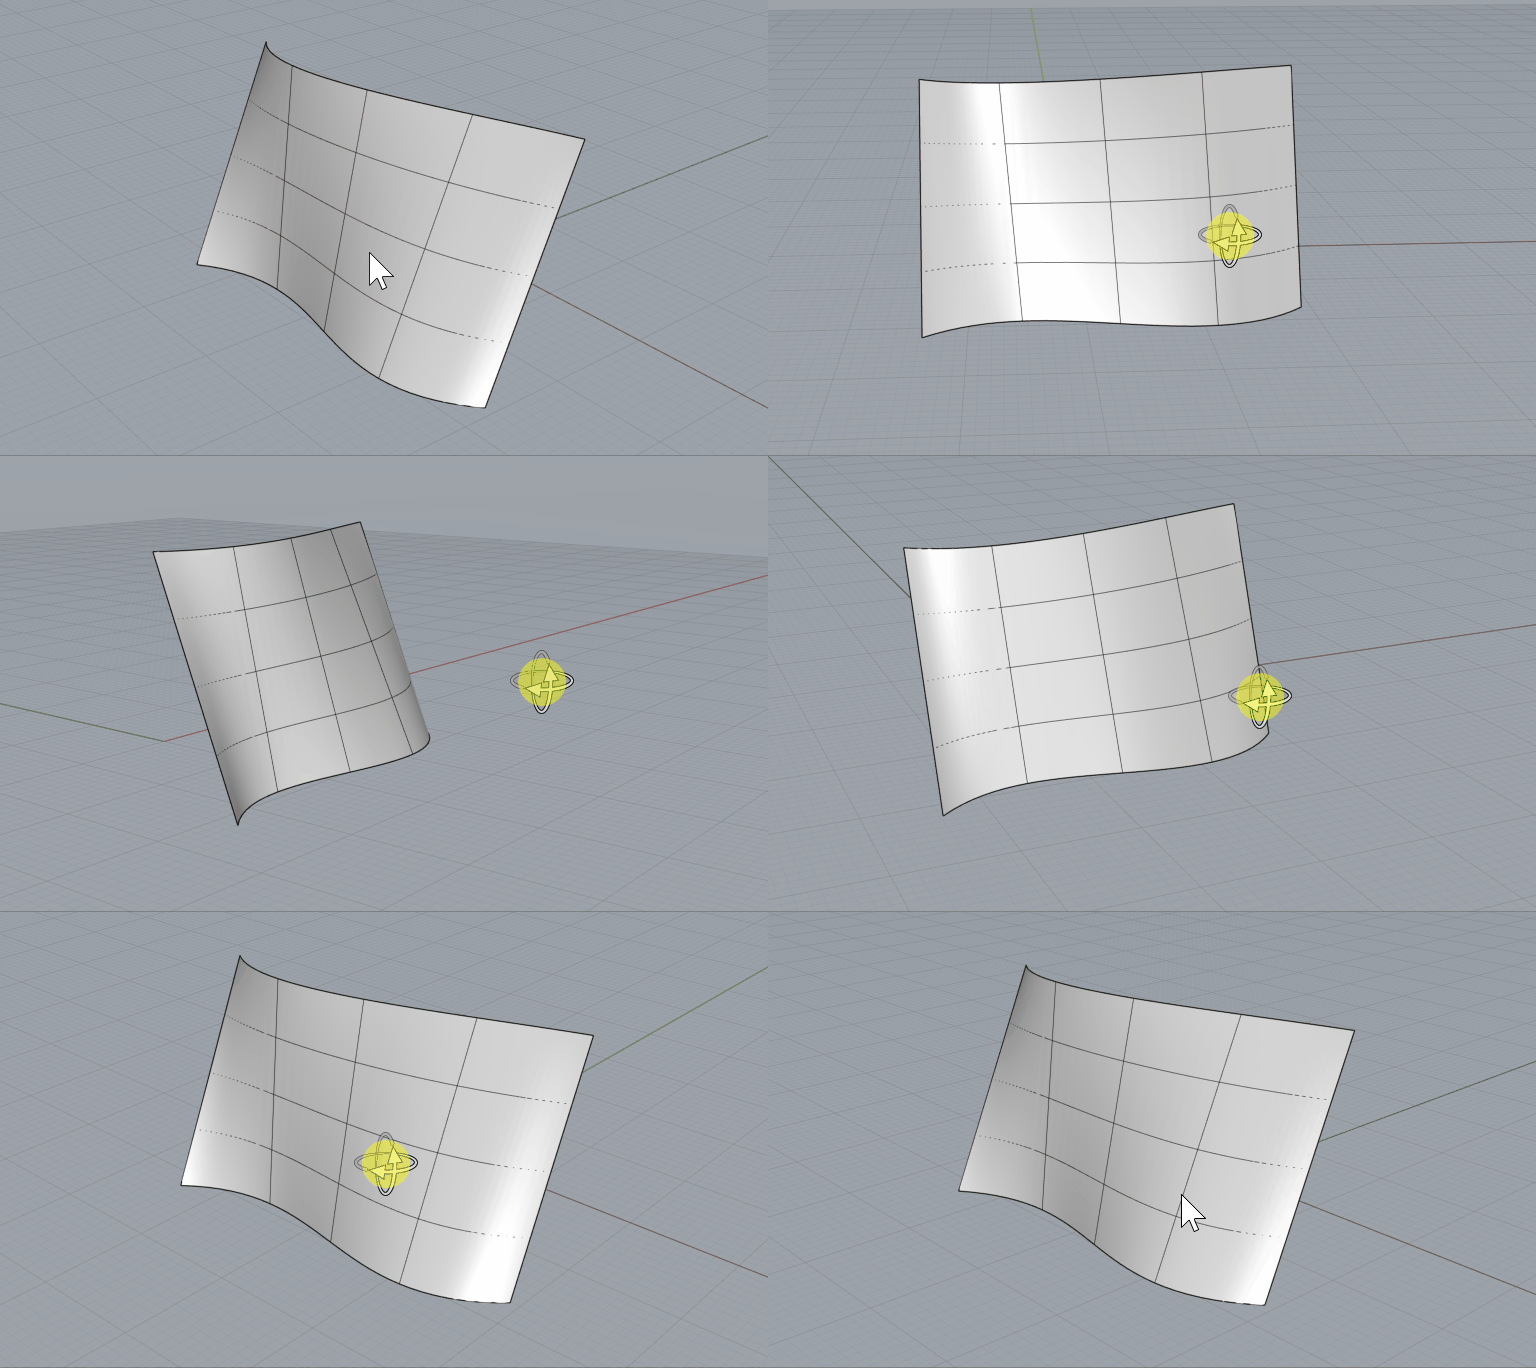
1. (Rhino) Create complex surface representing face of wall
Define a surface representing the face of a wall. These objects can have complex curvature and trims.

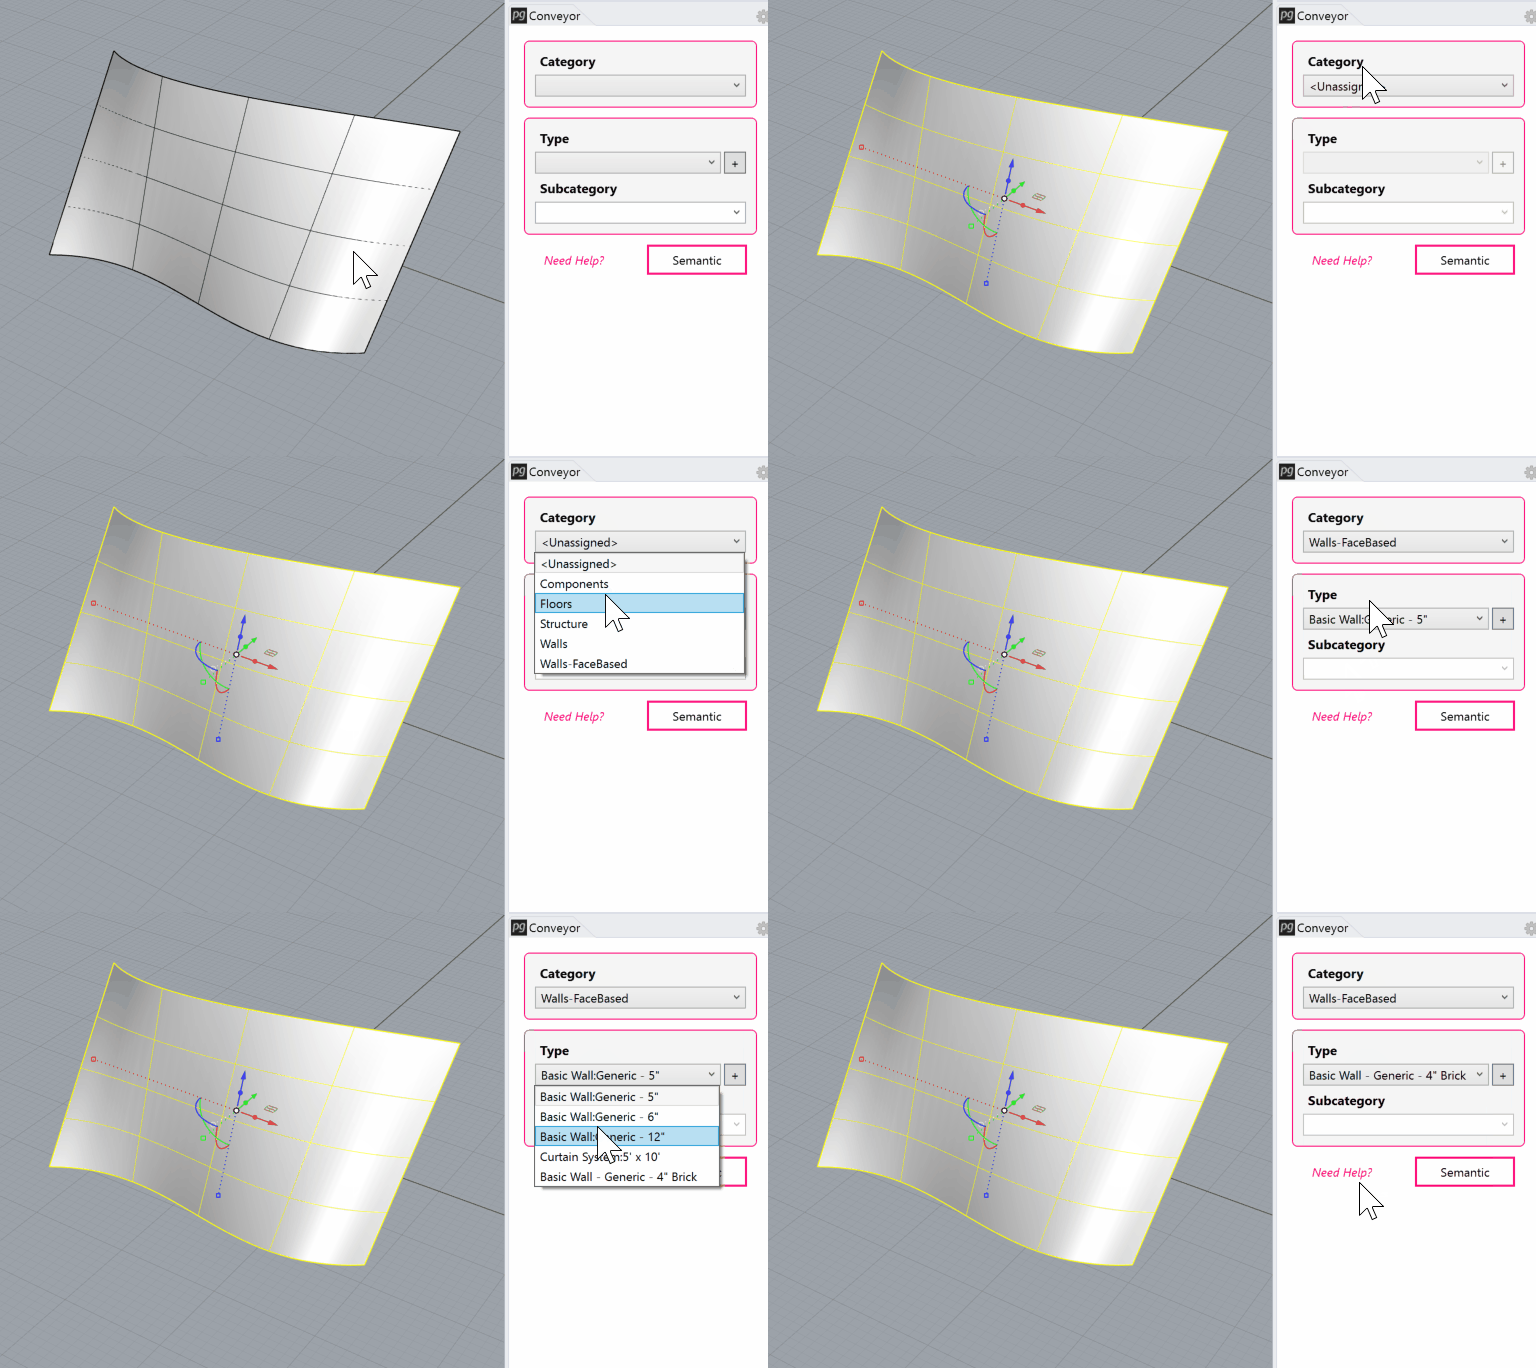
2. (Rhino) Assign the surface to a Walls category and type
Assign the surface to a Walls category and type.
Save the Rhino file.

3. (Revit) Launch Rhino Conveyor and select saved Rhino 3DM file
In the Rhino Conveyor panel, select the Rhino 3DM containing the wall object(s). Verify the listing of elements and select as needed.
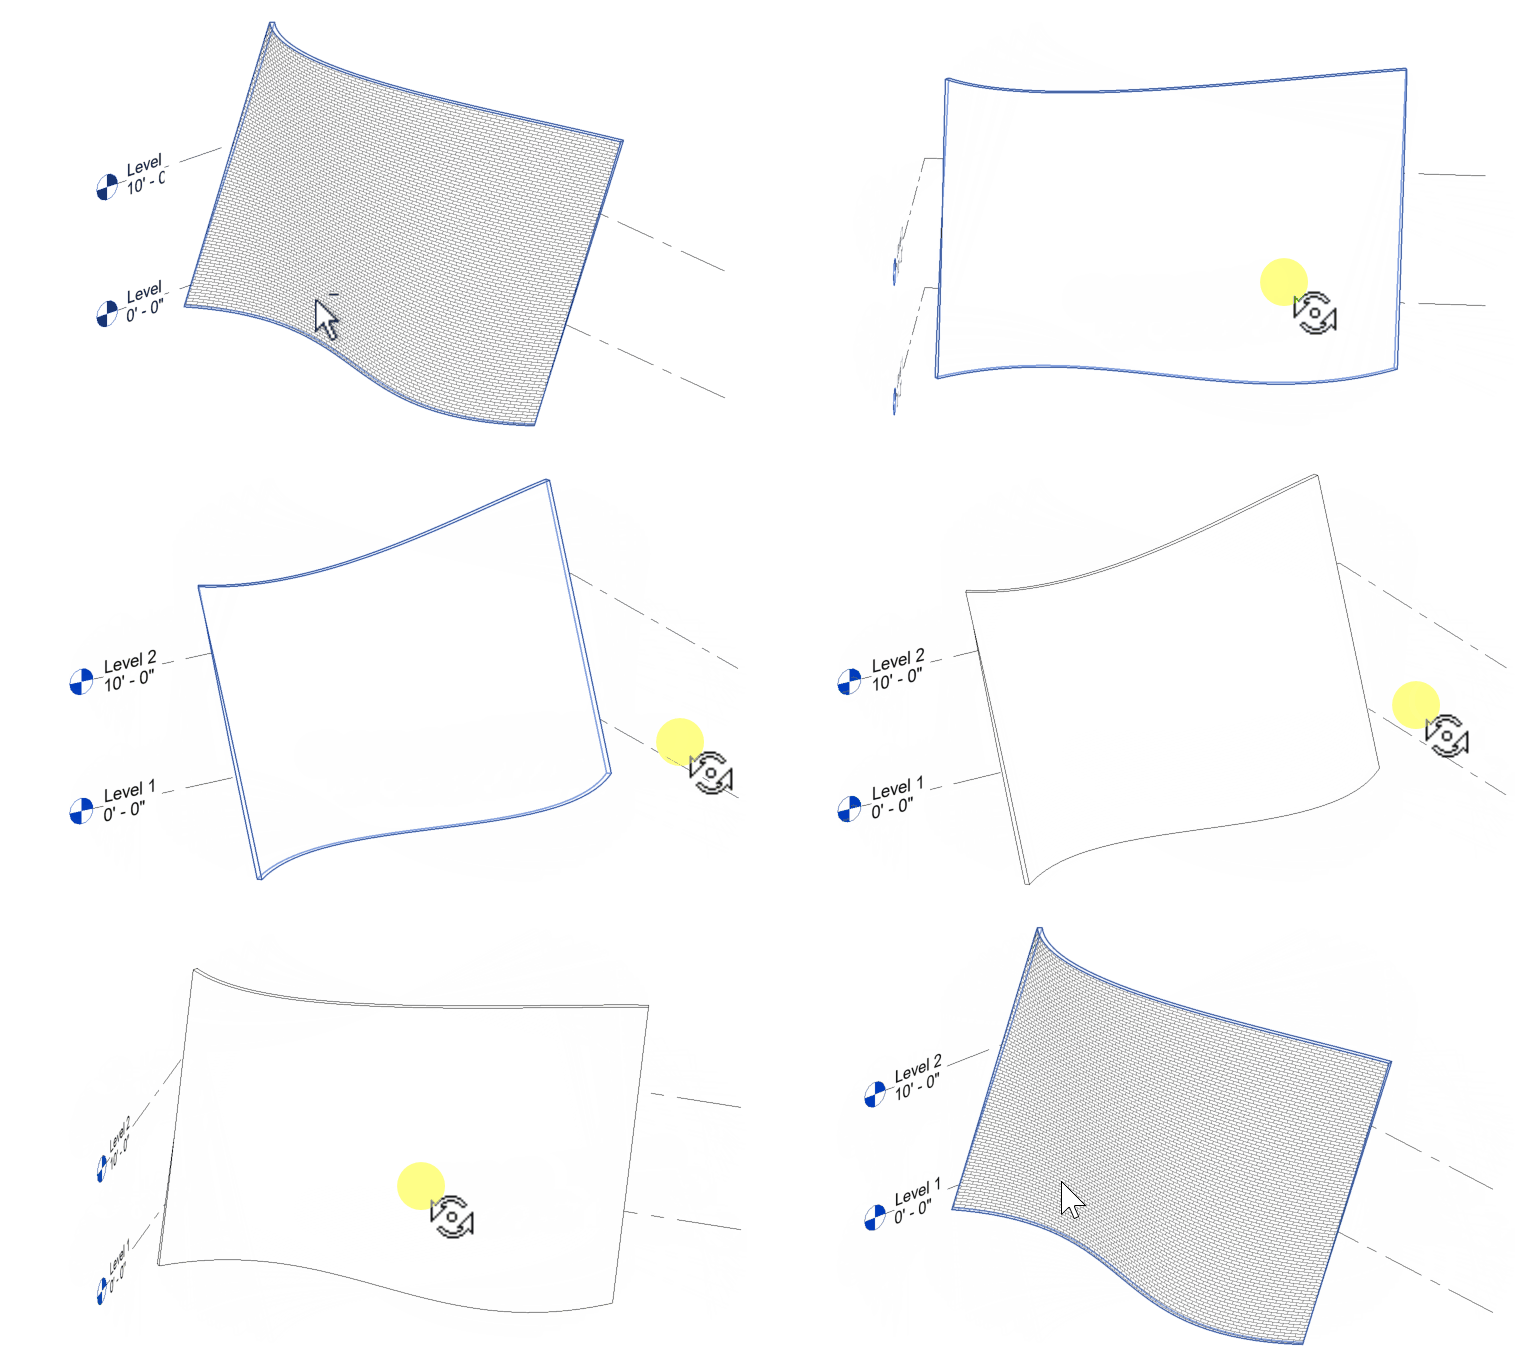
4. (Revit) Import Load Selected Wall Elements
Load the selected walls into the Revit document. Verify that the wall has been created with the defined type.

