Supported Conveyor Version: v2.0, v3.0, v4.0
Setup Assumptions
- Revit Requirements: Revit 2021 or later with Rhino.Inside.Revit installed.
- Rhino Requirements: Rhino 7 with the Conveyor v4 plugin installed
Getting Revit elements into Rhino
1. Open the Rhino interface from Rhino.Inside.Revit
Under the Revit “Rhinoceros” tab, click the “Rhino” button to activate the Rhino modeling interface.

2. Run the “ConveyorV4” command to activate Conveyor
Under the Revit “Rhinoceros” tab, Rhino.Inside.Revit exposes the ability to access Rhino interfaces – including the Rhino’s modeling environment and Grasshopper’s computational design interface.
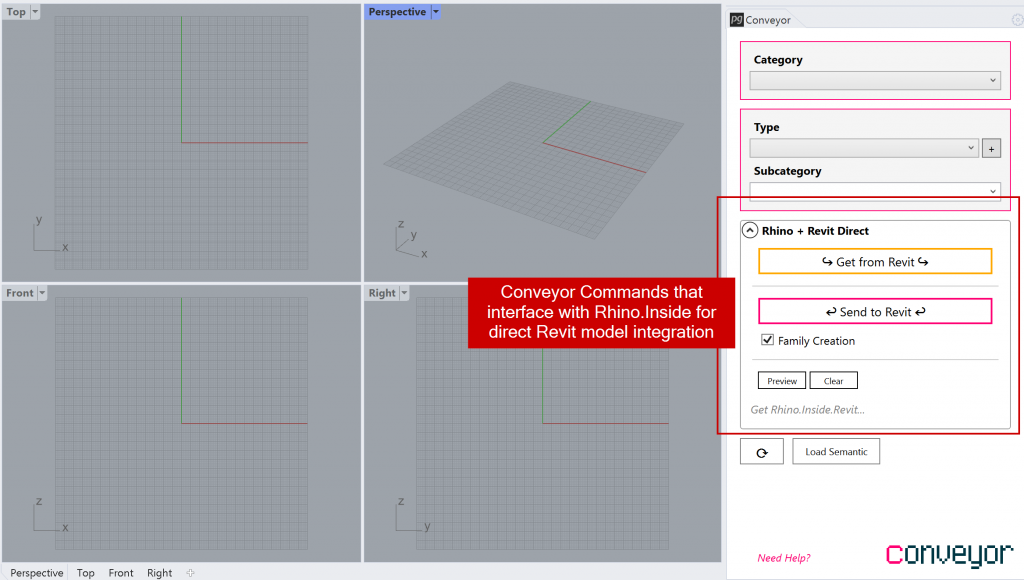
3. Create an element in Rhino and Send to Revit
3. Create and Select a Rhino object to send to Rhino
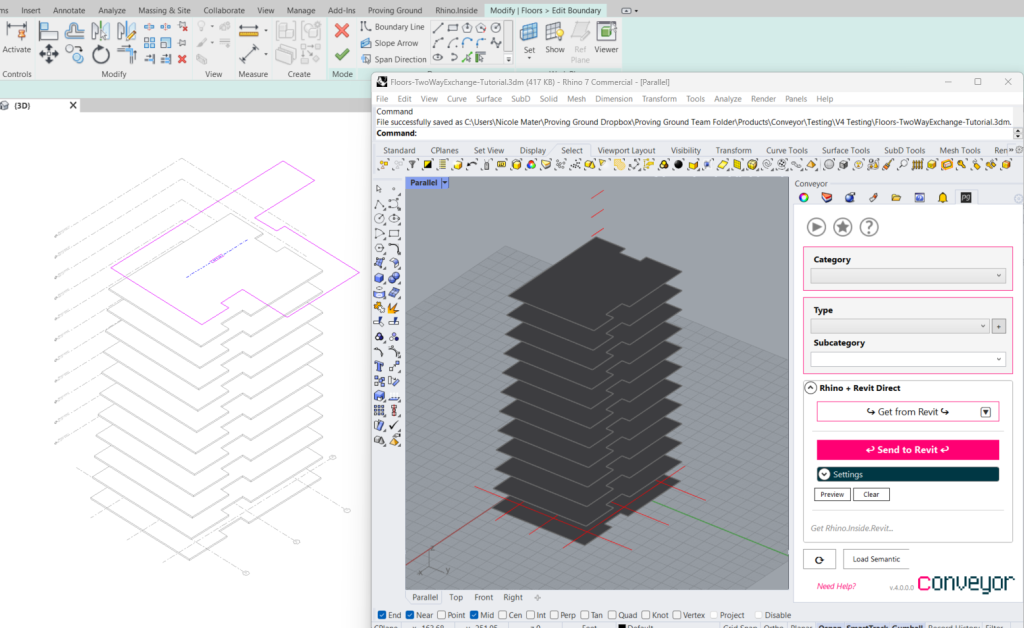
- Select a Revit element in an open Revit view in your project.
- In Rhino, navigate to the “Get from Revit” button in the Conveyor window.
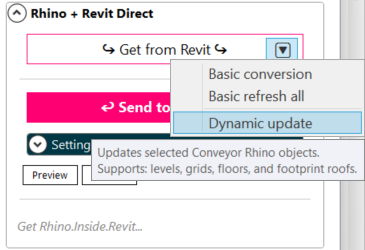
- On the right side of the button, there is a down arrow. Select the arrow to view a submenu of options.
- Basic Conversion will import the true geometry of the Revit object (for example, a floor will have thickness) into Rhino and will not replace the original geometry.
- Basic Refresh All will use the basic conversion method to refresh all of the imported Revit geometry in Rhino.
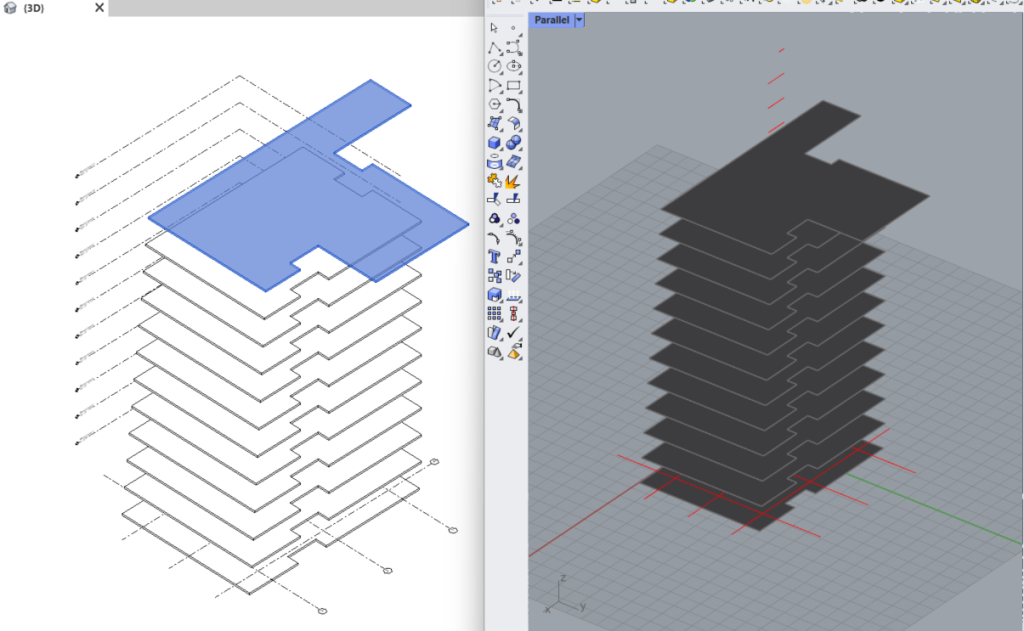
- Dynamic Update will replace the original geometry in the Rhino model with the edited geometry. It will use a compatible model form (for example, a floor will import as a planar surface).
- Select Dynamic Update. The floor will import to Revit and replace the original geometry.
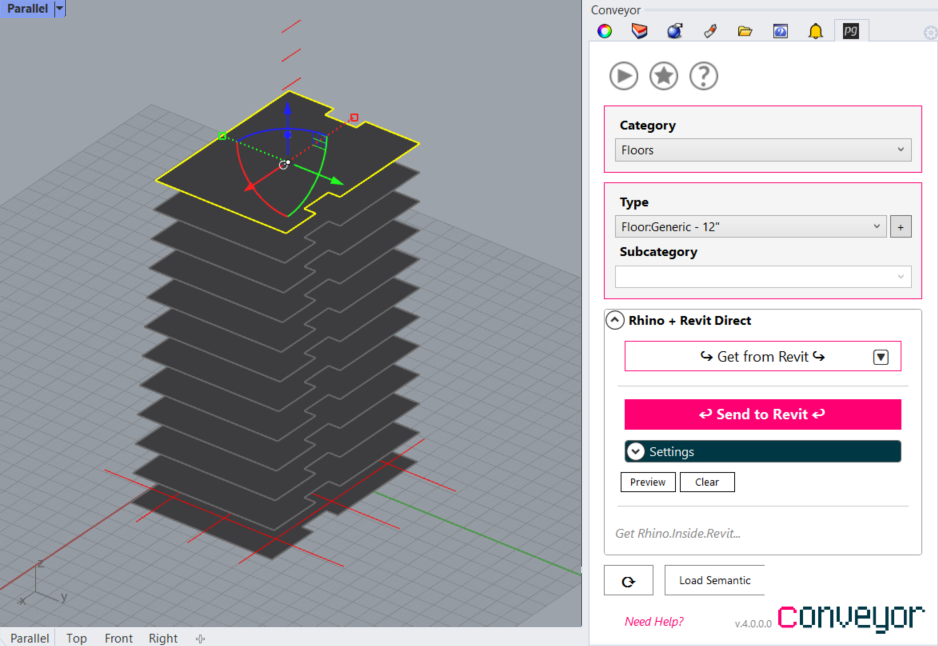
- If desired, continue editing the geometry in Rhino and resend it to Revit, and so forth.
- As long as the GUID remains consistent between the object’s Rhino property and Revit property, compatibility will be maintained.
